Last updated November 21, 2026
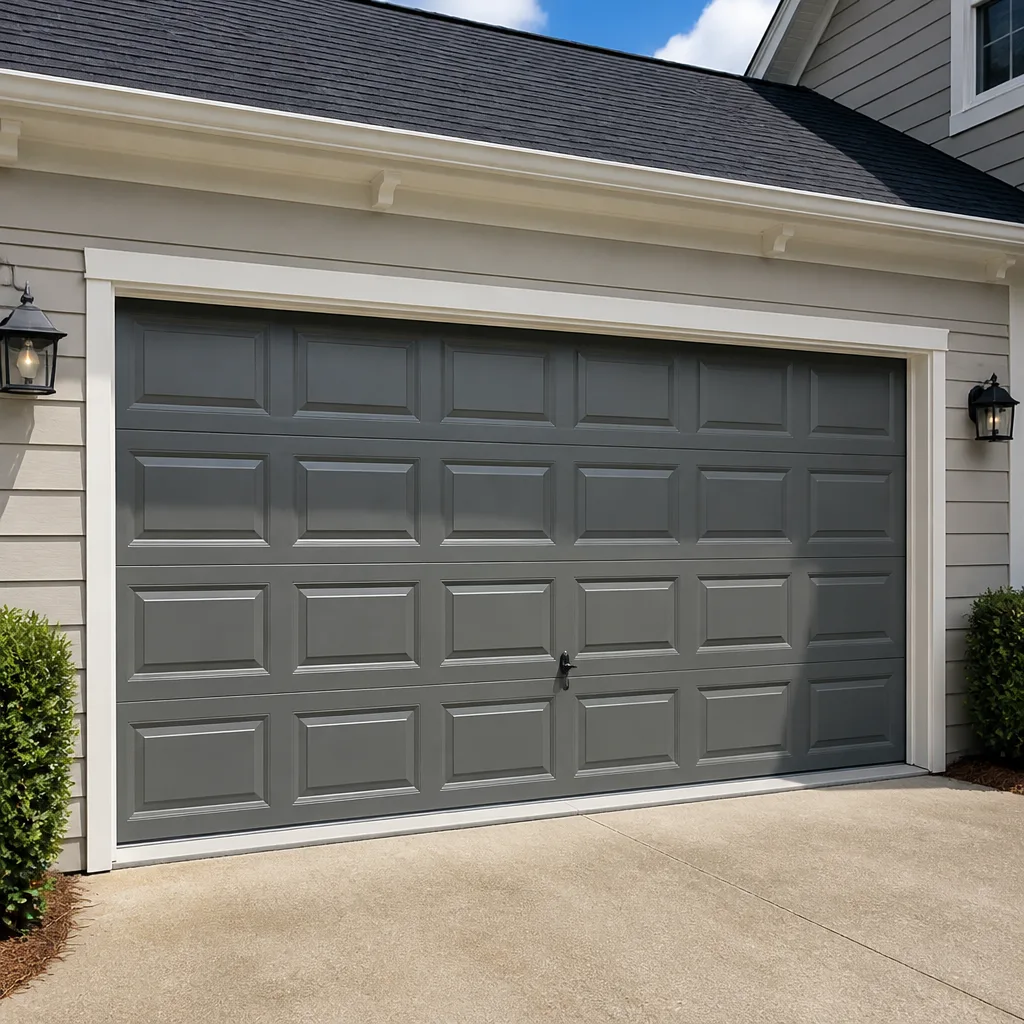 Raised-panel steel
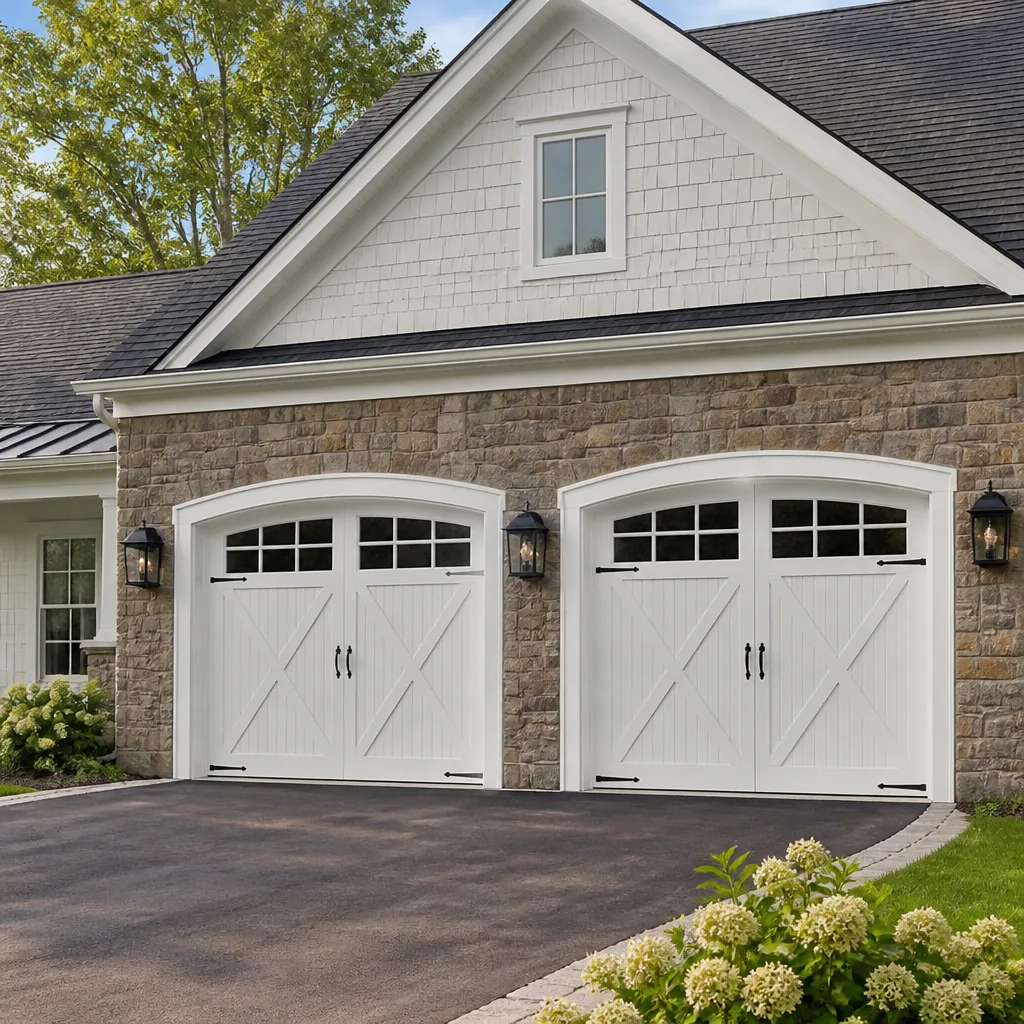 Carriage house
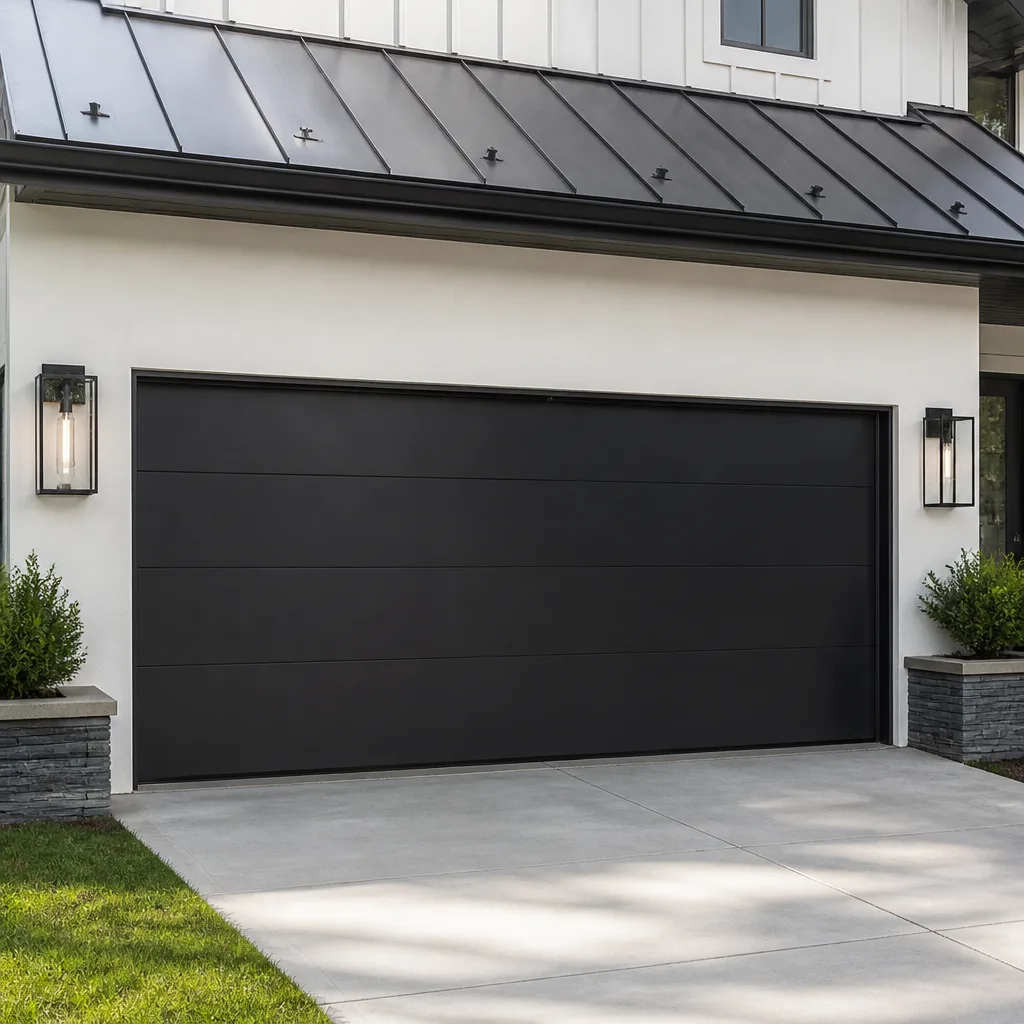 Modern flush
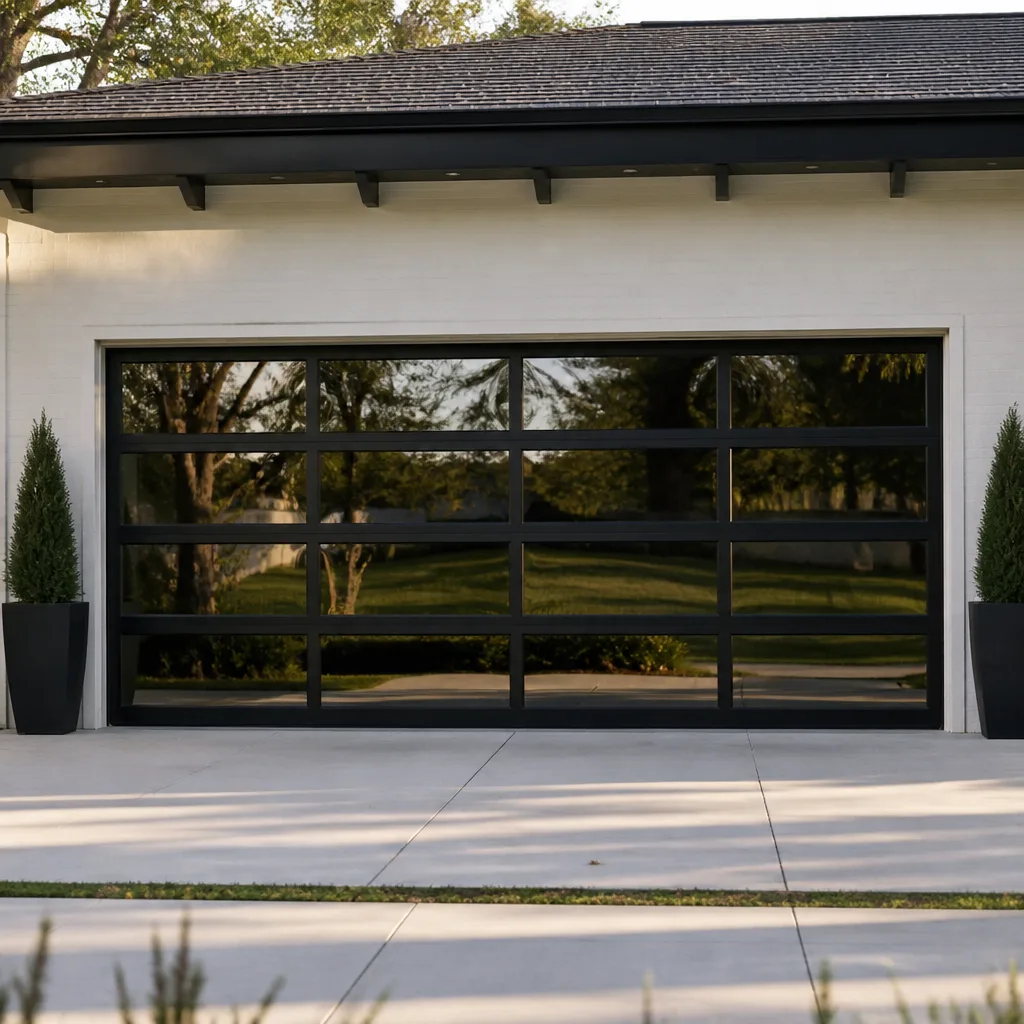 Full-view glass
 LiftMaster openers
 Chamberlain openers
Full 25-point door and opener safety check with every visit - springs, cables, rollers, tracks, and your LiftMaster or Chamberlain opener included
You get a price before we start. It does not change when the pro arrives.
Get your free estimateDIY vs Professional Garage Door: The Hamilton Homeowner’s Decision Guide
Most garage door advice online splits into two useless camps: “never touch it, call a pro” and “anyone can fix this with a YouTube video.” Both are wrong, and both cost Hamilton homeowners money. The real question isn’t whether you’re handy enough. It’s whether the specific task in front of you has injury or liability consequences that make self-service genuinely dangerous, or whether it’s straightforward work that paying someone for is just convenience. Those are very different decisions, and treating them the same is how people get hurt or waste a service call on a ten-minute job. In this guide, we draw that line precisely, task by task, so you can make an informed call instead of a fearful or overconfident one.
Quick Answer
Some garage door work is genuinely safe for a confident homeowner: replacing a bottom seal, programming a keypad, swapping a roller bracket, adjusting travel limits on an opener. Other work is categorically not: torsion springs, cables under tension, and anything involving the counterbalance system can cause permanent injury in a fraction of a second. The dividing line isn’t skill, it’s stored energy. If the task involves releasing or fighting a loaded spring or cable, stop and call a professional. If it involves a seal, a sensor, or a remote, you can handle it.
Styles & brands we work with
- Raised-panel steel
- Carriage house
- Modern flush
- Full-view glass
- LiftMaster openers
- Chamberlain openers
Table of Contents
- The Task-by-Task Safety Table: What’s Safe, What Isn’t
- Why Torsion and Extension Springs Are Two Different Animals
- The Tools a Hamilton Homeowner Actually Needs (and the Cheap Substitutes That Hurt People)
- What Voiding a Warranty Actually Looks Like in Practice
- How to Diagnose Before You Decide: $12 Part or $300 Service Call?
- How Hamilton Weather and Housing Shape Garage Door Wear
- When DIY Stops Making Sense
- Frequently Asked Questions
The Task-by-Task Safety Table: What’s Safe, What Isn’t
Here’s the table we wish every homeowner had before opening a toolbox. The middle column is the one people misjudge most: tasks that are doable but require specific tools and knowledge, where a shortcut turns a twenty-minute job into an emergency room visit. We’ve grouped these by the mechanical reason behind each category, not by difficulty rating.
Safe for a confident homeowner
- Bottom seal / weatherstrip replacement – the door stays closed, no tension is involved. A $15-$40 part and a few minutes with a track-friendly pry bar.
- Keypad and remote programming – pure electronics, no moving load. LiftMaster and Chamberlain openers have clear programming sequences in the manual.
- Safety sensor alignment – the photo-eye sensors at the bottom of the track. Usually a matter of cleaning the lens or nudging the bracket straight.
- Roller bracket replacement – the bracket, not the roller under load. The door stays down and the bracket carries no spring tension.
- Opener force and travel limit adjustment – done through the opener’s control panel, no tools on the door itself.
- Lubrication – hinges, rollers, and the torsion bar with a proper garage door lubricant. Never grease the tracks.
- Visual inspection – a full walk-around to spot worn cables, frayed springs, or bent tracks before they fail.
Requires specific tools and knowledge
- Panel replacement on a sectional door – doable on a Clopay or Amarr door if you match the panel profile and series correctly, but a wrong panel wastes the money and the door won’t seal.
- Track realignment – small bends can be corrected, but a track that’s been hit needs the door weight off it first. Getting that order wrong bends the panel.
- Opener replacement – the electrical connection and the header bracket both need care. A Genie or Chamberlain swap is not the same as a light fixture.
- Hinge replacement – hinges between panels carry the door’s weight once it’s open. The sequence matters.
- Cable replacement without a spring change – and this one only makes the middle column if you fully understand how the cable loads against the spring. Most homeowners shouldn’t attempt it.
Do not attempt
- Torsion spring replacement or adjustment – the spring stores enough energy to break bones or cause permanent injury in a fraction of a second. It requires winding bars, a knowledge of the correct number of turns, and a controlled release that no video can teach you.
- Extension spring replacement without the safety cable – a loaded extension spring that releases can travel across the garage. We will not describe that procedure, and no homeowner should try it.
- Any work with the door under tension – if you can’t see whether the spring is loaded, it’s loaded.
- Cutting or shortening a torsion spring – never. A cut spring is a weapon.
- Adjusting torsion cable drums – one slip and the cable whips. This is professional-only.
That table is the whole guide in miniature. Everything below explains the reasoning so you can apply it to a task we haven’t listed.
Why Torsion and Extension Springs Are Two Different Animals
The most common misconception we hear in Hamilton is that a tutorial for one spring type teaches you the other. It doesn’t. The two systems store and release energy in completely different ways, and the safety failure modes are different too.
Extension springs run along the horizontal tracks above the door and stretch as the door closes. When one fails, it releases its stored energy along the length of the track. That’s why extension springs have a safety cable running through the center: the cable contains a broken spring so it can’t fly out. If your door has extension springs and the cable is missing or loose, that’s a real risk independent of anything else.
Torsion springs mount above the door on a steel shaft and twist rather than stretch. When a torsion spring breaks, the energy releases in a rotational snap. The door becomes dangerously heavy, the drums can spin freely, and the cable can whip. That rotational release is why torsion spring work requires winding bars, careful accounting of turns, and the physical position that keeps you clear of the load.
The mechanical difference matters because:
- The tools are different. Extension spring work uses clamps and cables. Torsion work uses winding bars sized to the spring. A tutorial for one won’t tell you what a torsion spring job needs.
- The release direction is different. Extension springs release along the track. Torsion springs release rotationally. Where you stand and which hand is doing what changes completely.
- The number of turns matters. A torsion spring has to be wound to an exact count based on the door’s weight and the spring’s wire size. Get it wrong and the door won’t balance, the opener burns out, and the spring has a short life.
- The inspection is different. Extension cables wear at different points than torsion cables. A door that passes one inspection can fail the other.
Spring repair is one of the mechanically dangerous jobs in this trade, and it’s one of our core services for exactly that reason. It’s also the repair most general handymen decline. When a Hamilton homeowner calls us about a snapped spring, our technicians have up to 11 years of experience on both torsion and extension systems, and we can usually tell from a description which one you’re dealing with before we arrive.
The Tools a Hamilton Homeowner Actually Needs (and the Cheap Substitutes That Hurt People)
For the legitimate DIY tasks, you don’t need much. The problem is that the wrong cheap substitute turns a safe job into a dangerous one, and the substitutes are what people actually reach for.
The tools that are worth owning
- A proper garage door lubricant (silicone or lithium-based, not WD-40 as a lubricant). A few dollars and it saves hinges and rollers.
- A socket set that fits the hinge and bracket bolts on your door. Most residential doors use common sizes, but “close enough” slips and rounds the bolt.
- Two locking pliers for holding a track or vise-gripping a bracket while you work.
- A step ladder rated for your weight. Not a kitchen chair.
- A good flashlight or headlamp for inspecting cables and springs.
- A torque wrench for opener header bolts and track brackets.
The cheap substitutes that cause the most injuries
- Screwdrivers as pry bars. A flathead screwdriver will snap under load. A proper pry bar is $10.
- A pipe wrench as a winding bar. If you’re ever tempted to use one on a torsion spring, that’s the exact moment to stop. Winding bars are sized and rated for the load.
- Vise grips as clamps on a loaded spring. They can slip. When they slip, the load releases.
- A kitchen chair or a bucket as a step. Height work with tools in your hands on an unstable platform is a fall waiting to happen.
- Bungee cords to “hold” a door open. They stretch and release without warning.
If you own a couple of screwdrivers and a drill, you can handle the safe list. If you’re reaching for something because it “sort of fits,” that’s a sign the task has moved out of your lane.
What Voiding a Warranty Actually Looks Like in Practice
Homeowners worry about warranty voiding far more than the warranties themselves justify. Here’s the honest picture, category by category.
Tasks that trigger real warranty concerns:
- Opener internal repairs. Opening the opener housing to replace a logic board or gear usually voids the manufacturer’s warranty on that opener. This is one of the reasons we handle opener repair as its own service.
- Spring replacement with mismatched parts. If a spring is replaced with the wrong wire gauge or the wrong number of turns, the door balance is off, and the extra load on an opener can be used by the manufacturer to deny a future opener claim.
- Electrical connection changes at the opener. If a homeowner hard-wires something differently from the manual and the unit fails, that’s generally on the homeowner.
Tasks manufacturers don’t track:
- Lubrication. No manufacturer tracks whether you cleaned your hinges.
- Sensor alignment. Adjusting your photo-eye brackets doesn’t affect the equipment warranty.
- Remote and keypad programming. Expected homeowner activity.
- Bottom seal and weatherstrip changes. Wear items.
- Roller bracket swaps. Standard user-serviceable parts.
On a newer LiftMaster or Chamberlain opener, the manufacturer’s documentation is the source of truth. If a repair involves getting inside the opener housing, treat it as a warranty-sensitive job. If it’s on the door or the track, it usually isn’t. The honest rule is: for the do-not-attempt list above, warranty is the least of your worries, and for the safe list, warranty rarely comes into it.
How to Diagnose Before You Decide: $12 Part or $300 Service Call?
Before you decide whether to book anyone, you can often tell whether you’re looking at a cheap fix or a bigger job. These steps are safe and don’t require touching anything under load. If the diagnosis points at the do-not-attempt list, stop the process here.
- Listen first. A single loud bang from the garage (often while the door is opening or just resting) usually points to a spring failure. A rhythmic squeal points to worn rollers or a dry hinge.
- Try the opener. Press the wall button. If the opener motor runs but the door doesn’t move, the problem is likely between the opener and the door (broken spring, snapped cable, or a disconnected draw arm). If the opener doesn’t run at all, the problem is likely the opener, the safety sensors, or the power.
- Check the wall button and remotes together. If the wall button works but the remotes don’t, it’s usually the remote battery or a programming issue. If neither works, the opener isn’t getting the signal.
- Look at the safety sensors. Both LEDs at the bottom of the track should be on (solid, not blinking). A blinking or dead LED means the door won’t close, and the fix is often alignment or cleaning.
- Look at the bottom seal and tracks. A torn seal, a bent track, or a door that’s off its rollers are all cheap fixes if you catch them early.
- Inspect the springs without touching them. Extension springs are visible above the tracks. Look for a visible gap in the spring coil or a loose safety cable. Torsion springs are on the shaft above the door. Look for a visible gap. If the spring is broken, stop and call us.
- Try the manual release, if the door is intact. Pull the red release handle on the opener arm and lift the door by hand. A door that feels heavy or won’t stay up points to a spring issue. If it moves easily, the spring is likely fine and the opener is the problem.
That walk-through won’t diagnose every failure, but it’ll tell you most of the time whether you’re looking at a $12 part (a bottom seal, a sensor clean, a remote battery) or a bigger service call. It’ll also tell you when the honest answer is “call someone before you touch anything else.”
How Hamilton Weather and Housing Shape Garage Door Wear
Garage doors in Hamilton face a specific combination of conditions that aren’t in the generic “replace every ten years” advice. The freeze-thaw cycle through Maryland winters works on the seals, hinges, and cables, and the summer humidity affects the wood components in older doors.
Winter freeze-thaw. The bottom seal on a Hamilton garage door goes through dozens of freeze-thaw cycles between December and March. That’s why the bottom seal is a legitimate DIY replacement (it’s on the safe list) and why it’s worth checking every fall instead of waiting for a draft. Cables also wear faster when they’re cycling against a stiff seal and a cold track.
Summer humidity. Wood doors with wood panel construction expand and contract with humidity. If your door’s hinges creak more in July than in January, that’s a hinge wearing under the seasonal movement, and lubrication helps. Steel doors are less affected but the roller bearings still wear.
Housing stock. Hamilton’s mix of older homes with heavier wood doors and newer homes with lighter steel-sectional doors means the spring load and cycle count vary street to street. A heavier door wears the torsion spring faster. If you’re not sure what your door’s cycle count is, our technicians can usually tell you from the spring wire size and door weight.
Where in Hamilton you live matters less, but start times do. Most Hamilton doors get used two or three times a day on a normal commute, which is well under the cycle life of a properly sized spring. Frequent short open-close cycles (say, moving cars around a driveway) wear the springs faster than the same number of full cycles. If your door is doing a lot of short cycles, expect the spring to wear earlier than the average.
If your Hamilton door has been through several winters without a spring or seal check, the diagnosis above will tell you whether you’re due for a DIY seal replacement or a service call. We’ve seen the same pattern in neighborhoods across Hamilton: seals go first, then hinges and rollers, then the spring and cable assembly. Catching the small items early keeps the big items out of your budget.
When DIY Stops Making Sense
The DIY question turns on three things: stored energy, insurance, and diagnostic uncertainty. If the task involves a loaded spring or a cable under tension, it’s professional-only, full stop. If the work is going to touch the opener housing on a newer LiftMaster, Chamberlain, Genie, or Craftsman unit, warranty is a real consideration. And if your diagnosis lands somewhere in the middle (the door moves but the opener doesn’t, or the door sticks intermittently), that’s the point where a trained pair of eyes saves you money and time over trial and error.
For Hamilton homeowners who have a task on the safe list, our honest advice is to do it yourself. For anything on the do-not-attempt list, or for anything you’re not sure about, that’s what we do. Hamilton Garage Door Repair Pros offers free estimates in Hamilton. Call (855) 502-5595 and we’ll tell you straight which side of the line your repair falls on.
See the difference
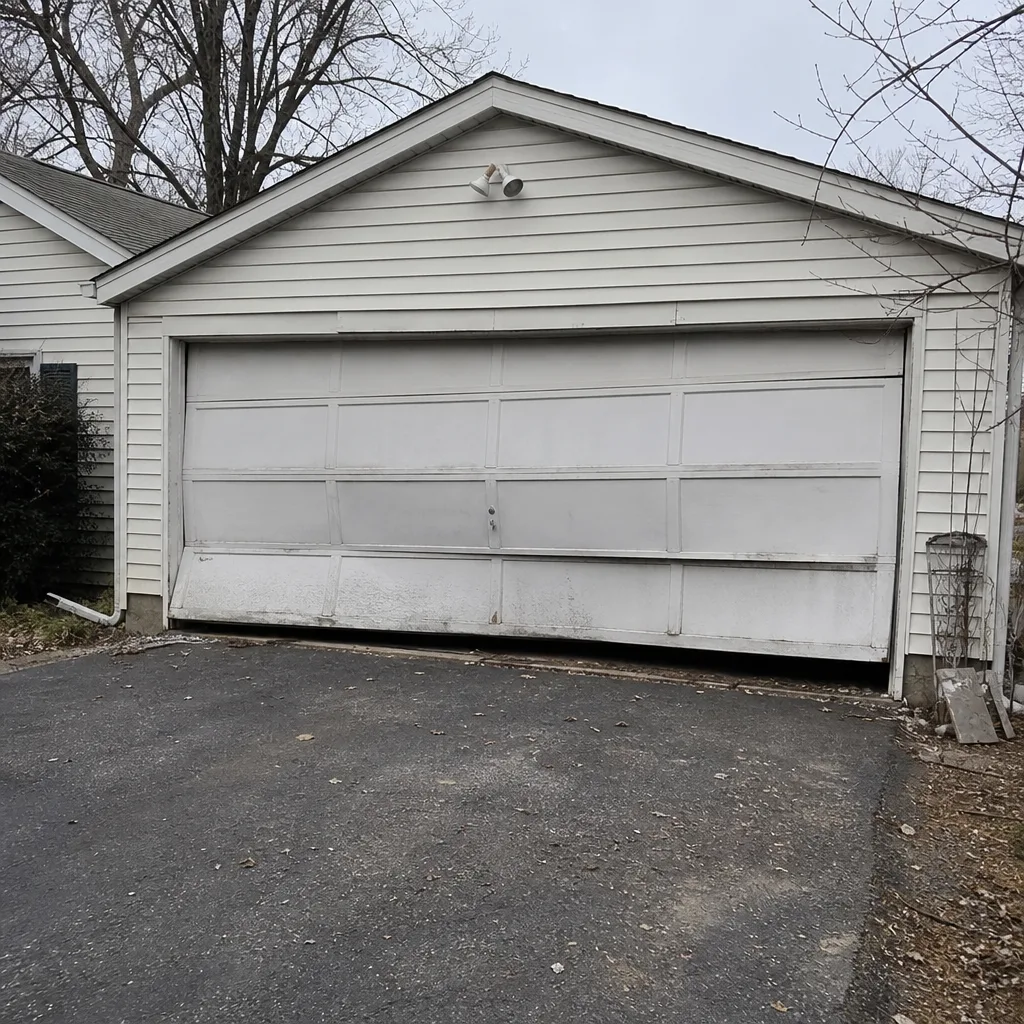 Before
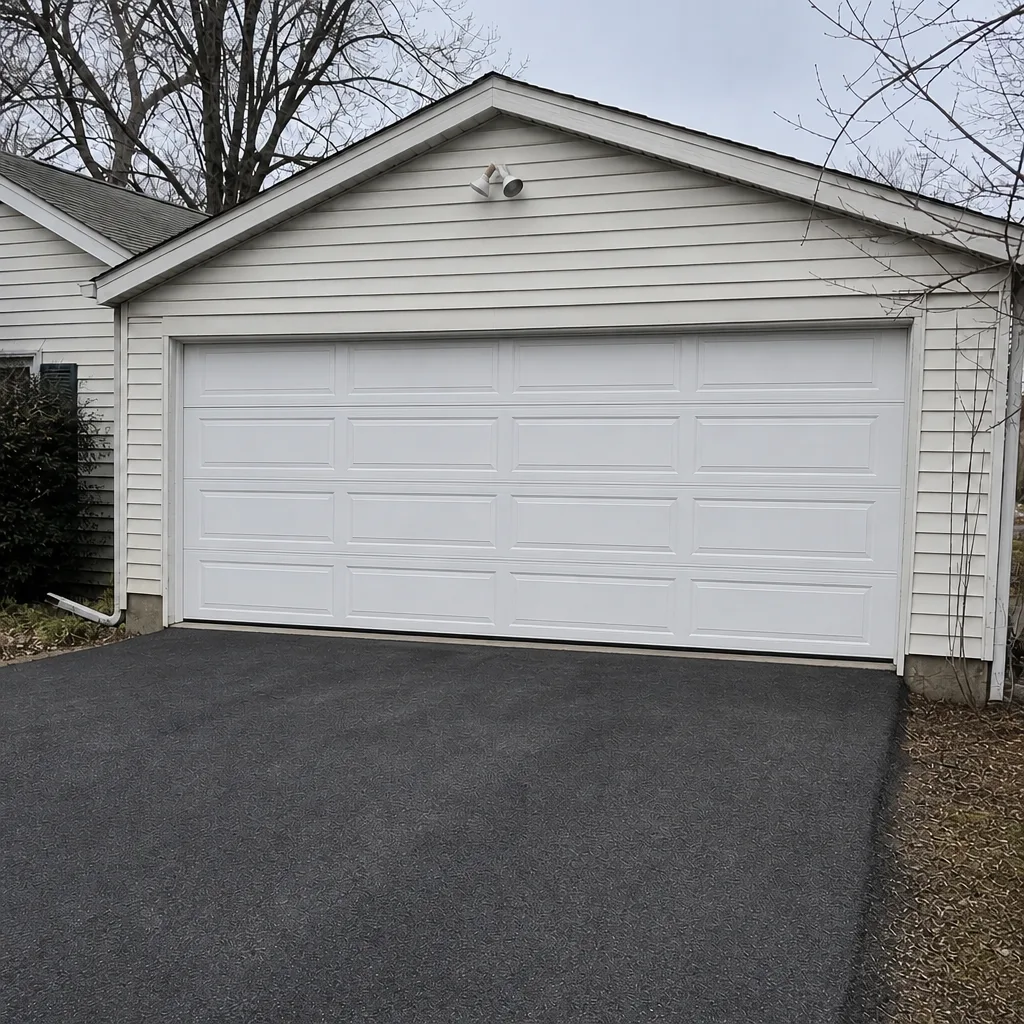 After
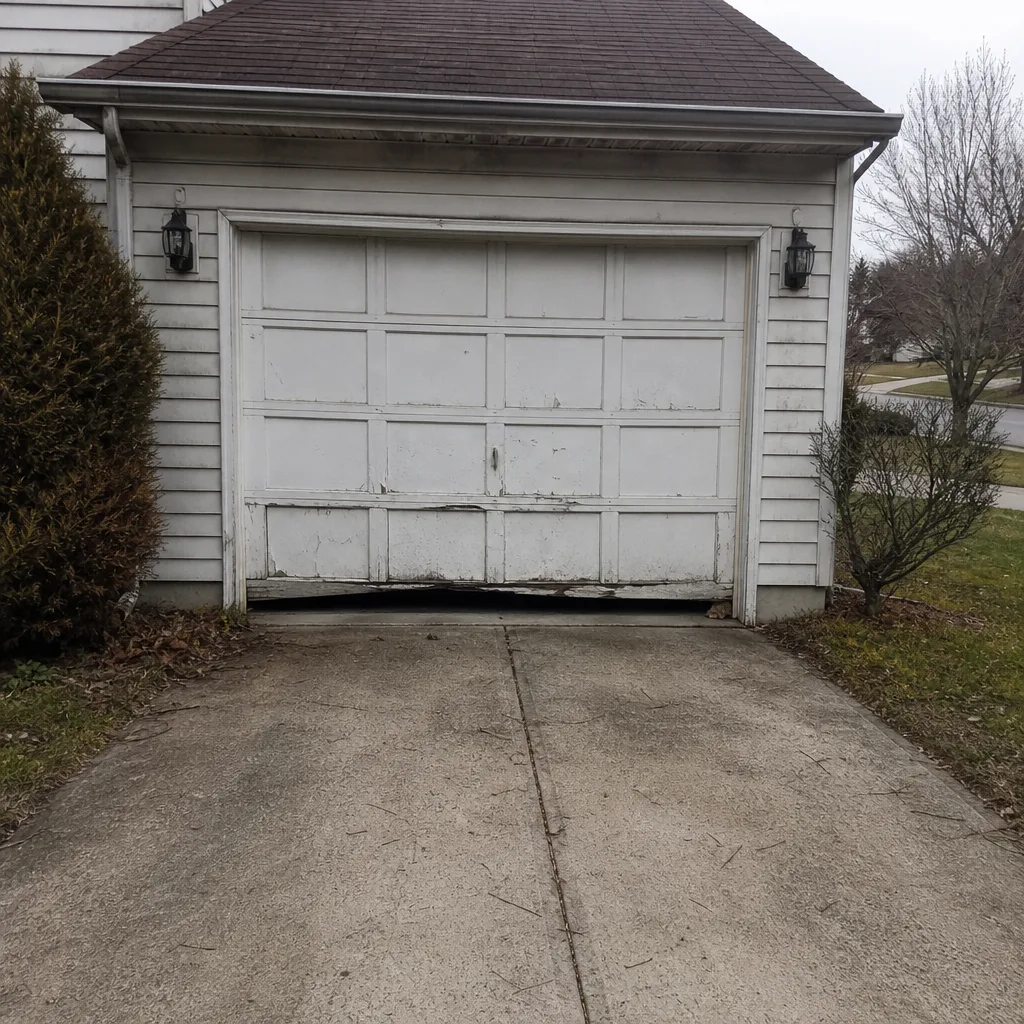 Before
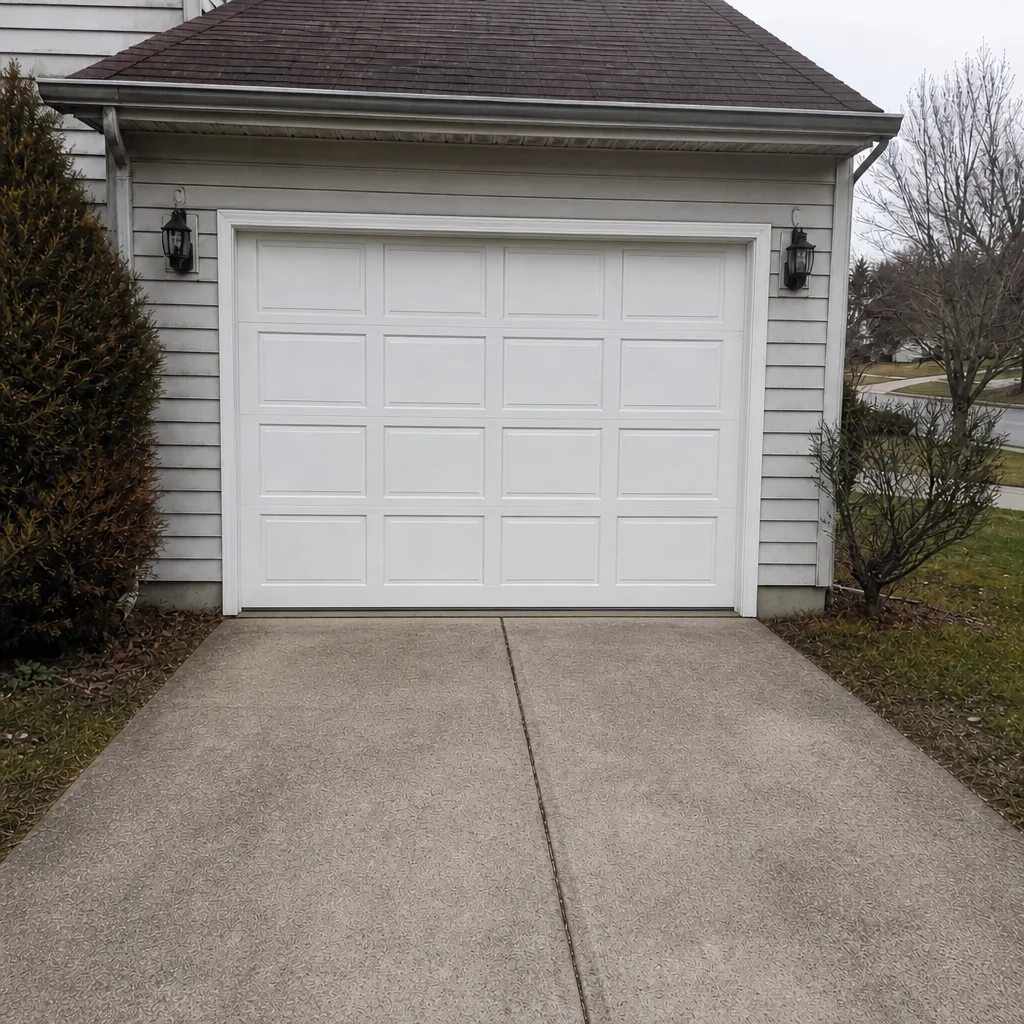 After
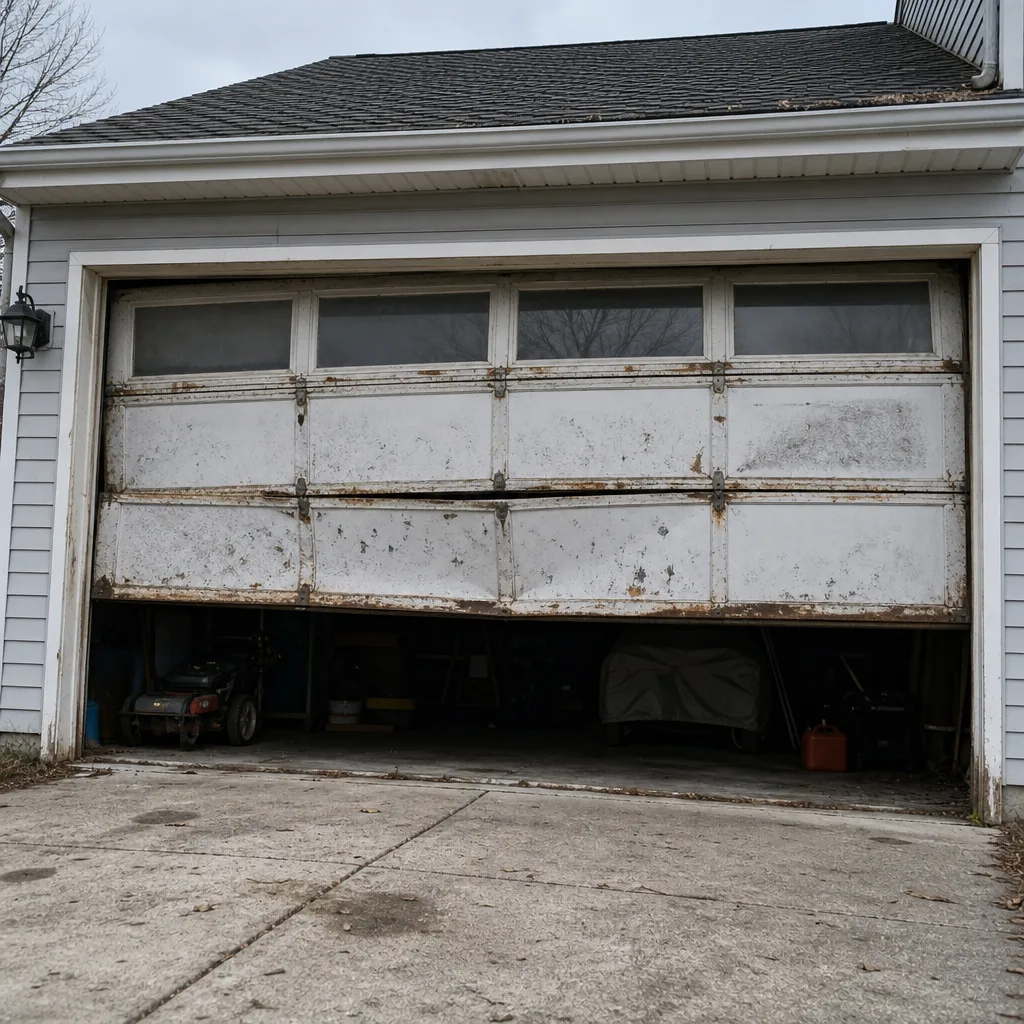 Before
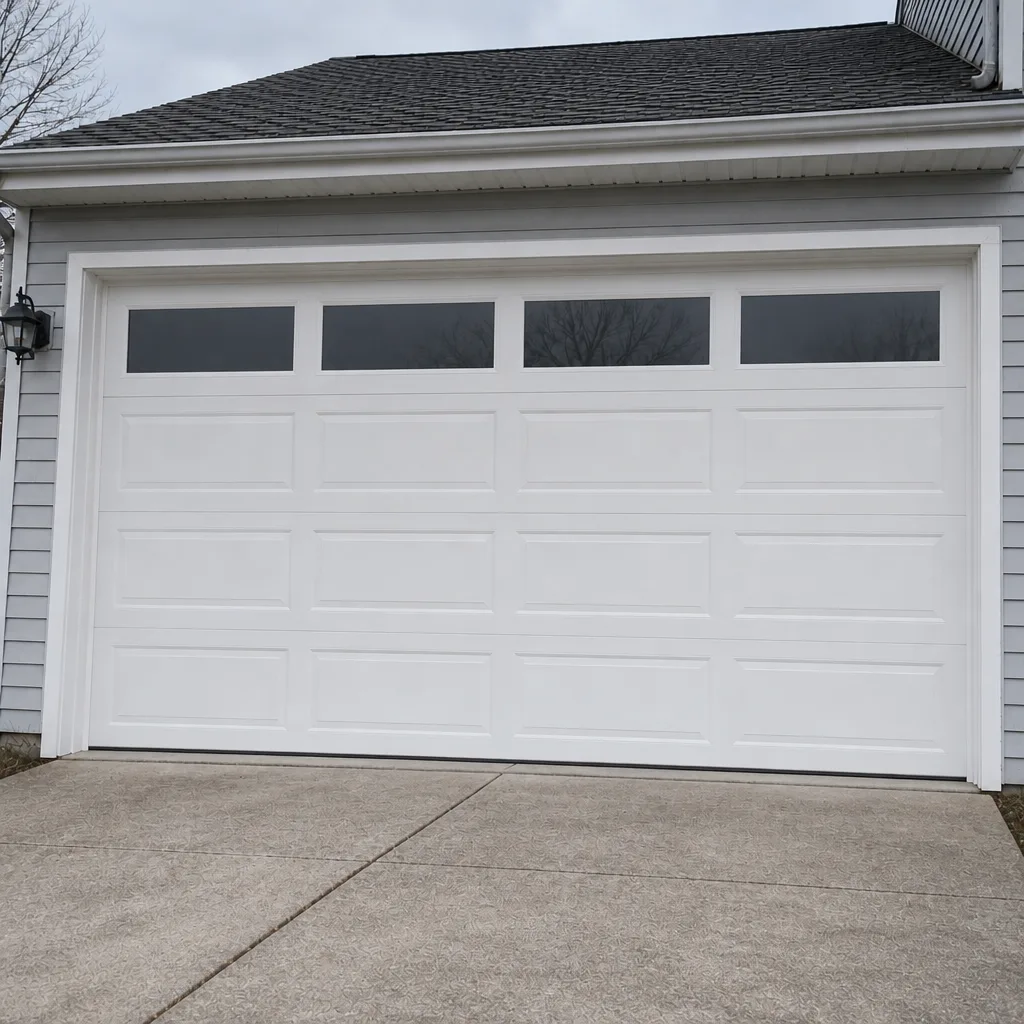 After
Common Mistakes to Avoid
- Treating an extension spring tutorial as valid for a torsion spring. They’re different systems with different release directions and different tools, and the injury risk is not comparable. If your door has torsion springs (the ones on the shaft above the door), the extension spring video doesn’t apply.
- Pulling the manual release on a door with a broken spring. The door is very heavy and the opener is not holding it, and it will come down hard. Leave the release engaged and call us.
- Using a screwdriver as a pry bar on tracks or a pipe wrench on a torsion spring. A screwdriver snaps and a pipe wrench doesn’t fit the spring properly. The right tool is $10-$40, and it’s the cheapest part of the job.
- Greasing the tracks. Garage door tracks are designed to run dry, and grease attracts grit that accelerates roller wear. Grease the hinges, rollers, and torsion bar, not the tracks.
- Ignoring a flashing sensor LED for weeks. A blinking safety sensor usually means the door won’t close, which is a security gap as well as a nuisance, and the fix is often a two-minute alignment or a wiped lens.
- Replacing an opener when the spring is the actual problem. A door that’s heavy by hand is a spring issue, not an opener issue, and a new opener won’t fix it. Our garage door opener repair service starts with the door balance check for exactly that reason.
- Skipping the seasonal seal check. Hamilton’s freeze-thaw cycle destroys bottom seals faster than most homeowners expect, and a drafty garage drags the seal and wears the hinges faster. Check in the fall.
When to Call a Professional
Call a professional when the repair involves a torsion or extension spring, a cable under tension, or any work that requires the door’s weight off the track. Call when the opener housing needs to come apart on a newer unit, and call when the diagnosis itself is unclear. Call when the door has been hit by a vehicle or has a bent panel that’s holding the track out of alignment. And call if you’ve already started a task and stopped halfway, because a partially disassembled door is more dangerous than an untouched one. Hamilton Garage Door Repair Pros offers free estimates in Hamilton. Call (855) 502-5595 and we’ll tell you which side of the line you’re on. For emergency situations where a broken door traps a car or leaves the house open, emergency garage door service is a real part of what we do and not an upsell. For a full door replacement, our garage door installation service measures and quotes before anything is ordered. And if you just need a repair, our garage door repair service starts with a diagnosis, not a sales pitch.
Frequently Asked Questions
No, and it’s not a matter of skill. Torsion springs store enough energy to cause permanent injury in a fraction of a second, and the tools required (winding bars sized to the spring) are not something most homeowners own or should use without training. Extension springs have a different release direction but the same basic risk. If your spring has snapped, leave the door where it is and call (855) 502-5595 for a free estimate.
Yes, programming a keypad or remote is one of the safe DIY tasks and doesn’t involve any loaded spring. LiftMaster, Chamberlain, Genie, and Craftsman openers all have clearly documented programming sequences in the manual, and the sequence is usually a matter of pressing the learn button and pressing the remote. If you can’t find the manual, the manufacturer’s online documentation is the place to start.
Only on tasks that involve opening the opener housing or altering the electrical connection. Lubrication, sensor alignment, remote programming, bottom seal replacement, and roller bracket swaps are not typically warranty-sensitive. Internal opener repairs on a newer unit are the case where the answer changes, and that’s one of the reasons we handle opener repair as a standalone service.
Start by cleaning the lenses on both photo-eye sensors and making sure both brackets point straight at each other. A solid LED on both sensors means the alignment is fine. A blinking or dead LED means one sensor isn’t getting signal, which is usually alignment, a dirty lens, or a loose wire. If cleaning and straightening doesn’t fix it, that’s a service call, and the fix is usually quick.
Sometimes, if you match the panel profile and series exactly, and if the door is in a state where the panel can be safely removed. The risk is that a mismatched panel won’t seal and you’ll pay for the part twice. If you’re not certain of the exact model, call us and we can identify it from the door’s markings before you order anything.
Try the manual release. Pull the red handle on the opener arm and lift the door by hand. If the door feels heavy or won’t stay up, the spring is the problem. If the door moves easily, the opener or its sensors are the problem. Do this test with the door down and be ready to let it settle on the ground, and don’t force it if something feels wrong.
The Bottom Line
The DIY vs professional question isn’t about your skill level. It’s about stored energy. Bottom seals, keypads, sensor alignment, roller brackets, and lubrication are safe to handle, and paying someone for them is convenience rather than necessity. Torsion springs, loaded cables, and anything requiring the door’s weight off the track are categorically professional work, and no video changes that. The middle zone is where the real decisions happen, and that’s where a diagnosis-first conversation saves Hamilton homeowners money. When the diagnosis points at the do-not-attempt list, call (855) 502-5595 for a free estimate. We’ll tell you straight.
Written by the team at Hamilton Garage Door Repair Pros.