Last updated November 21, 2026
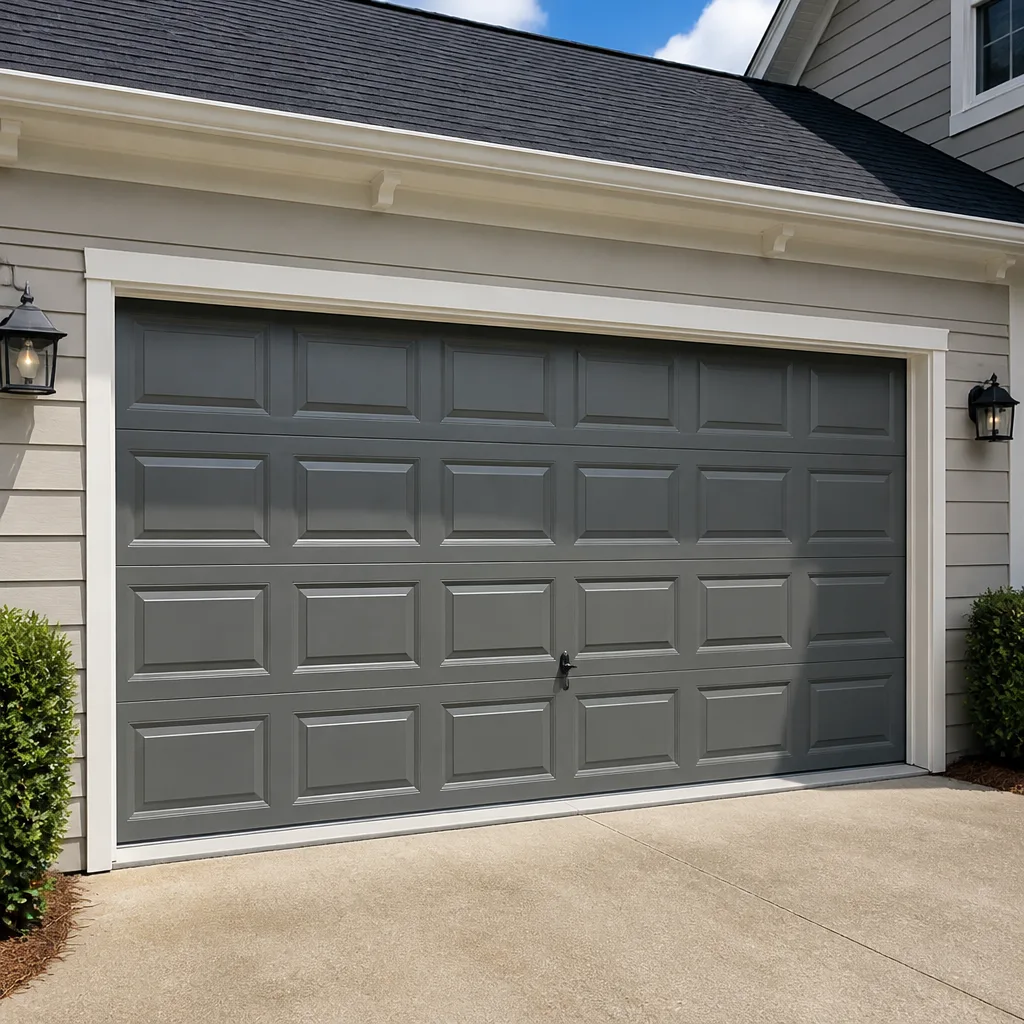 Raised-panel steel
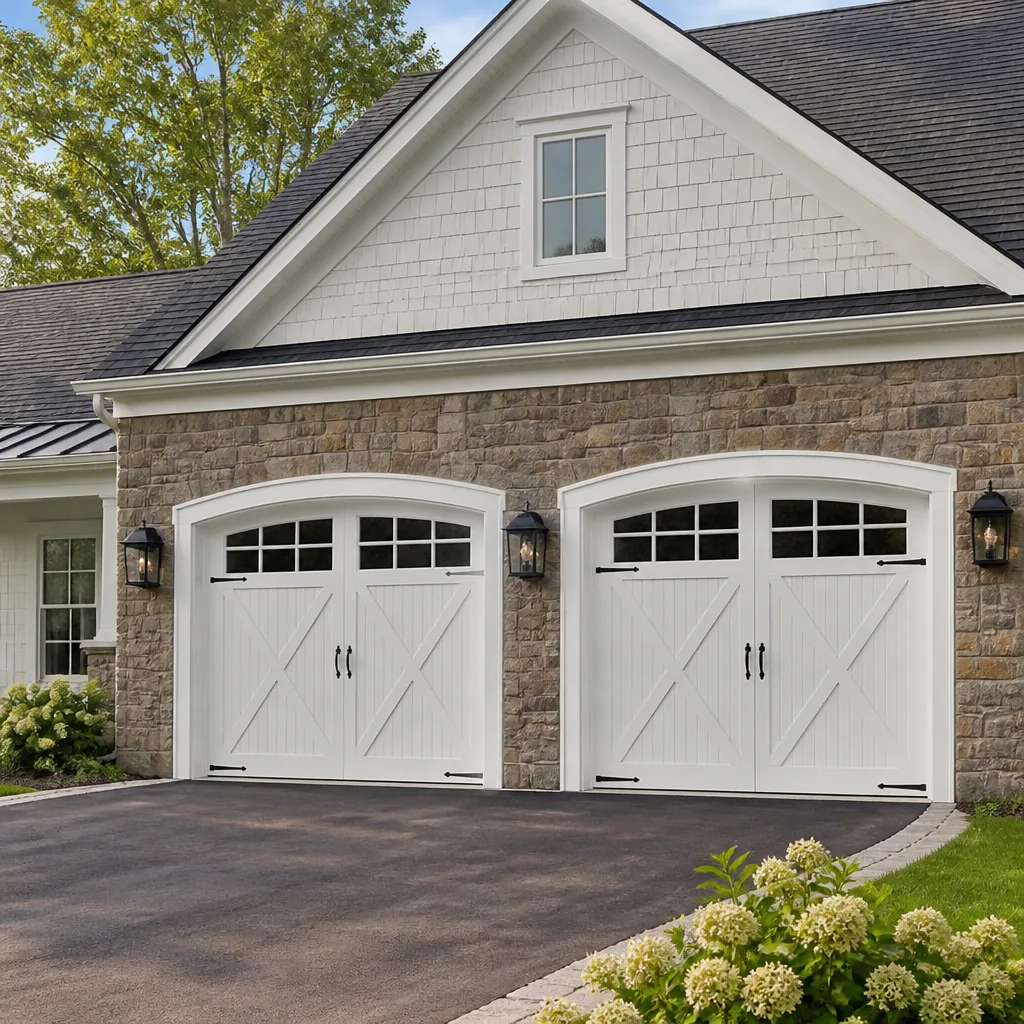 Carriage house
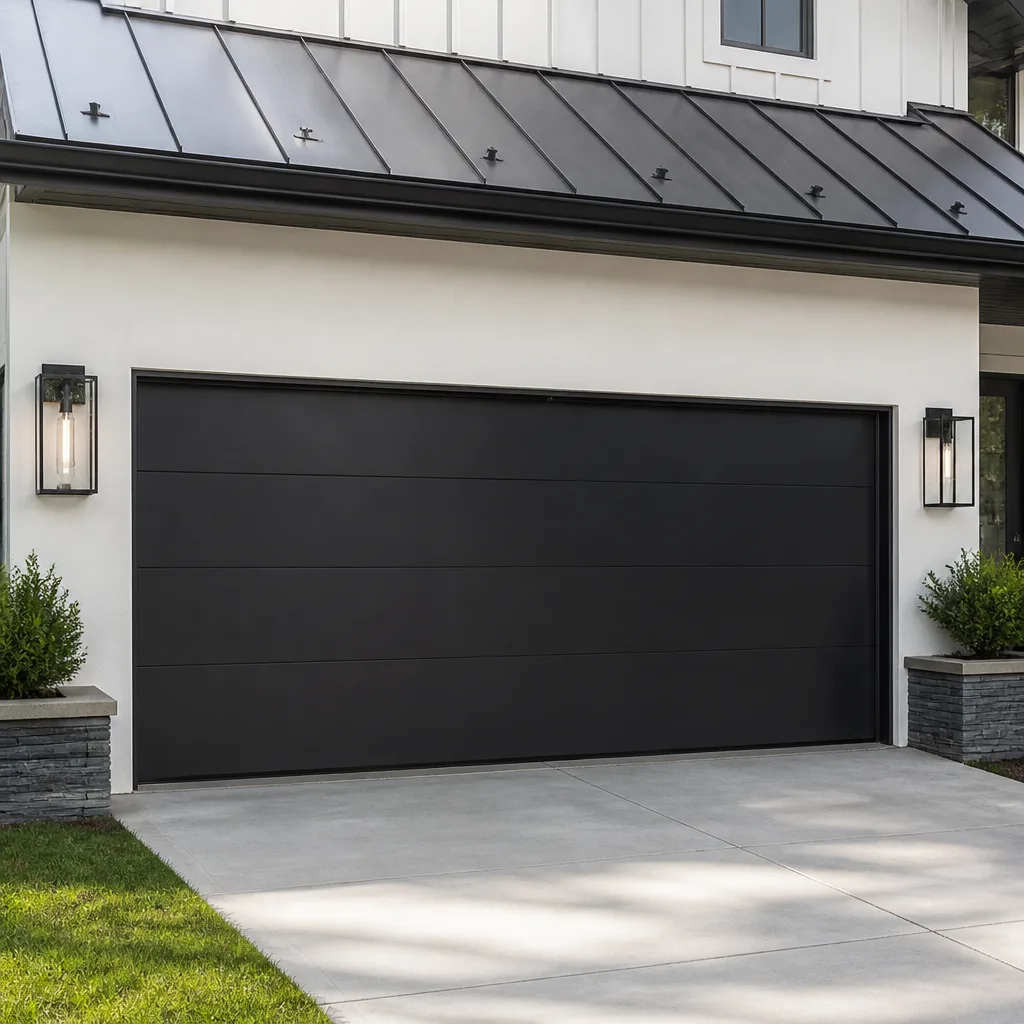 Modern flush
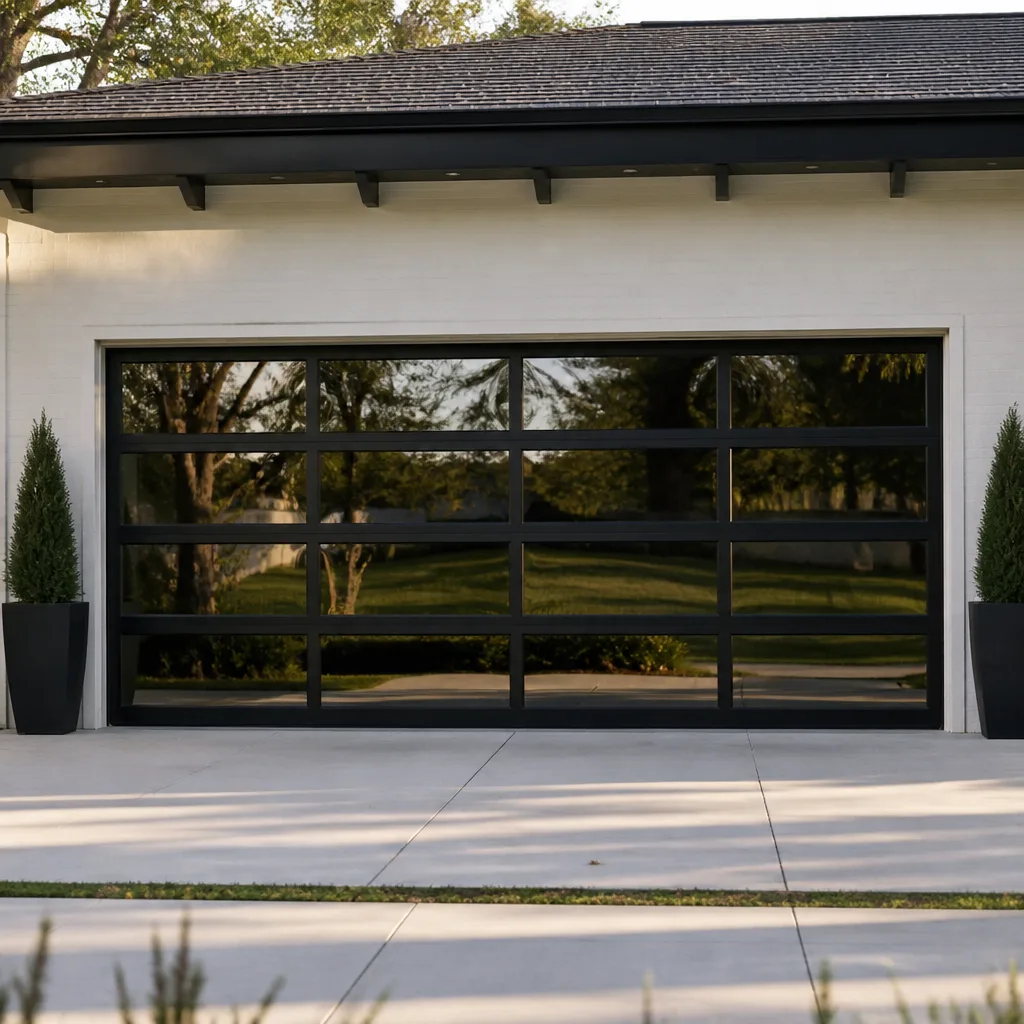 Full-view glass
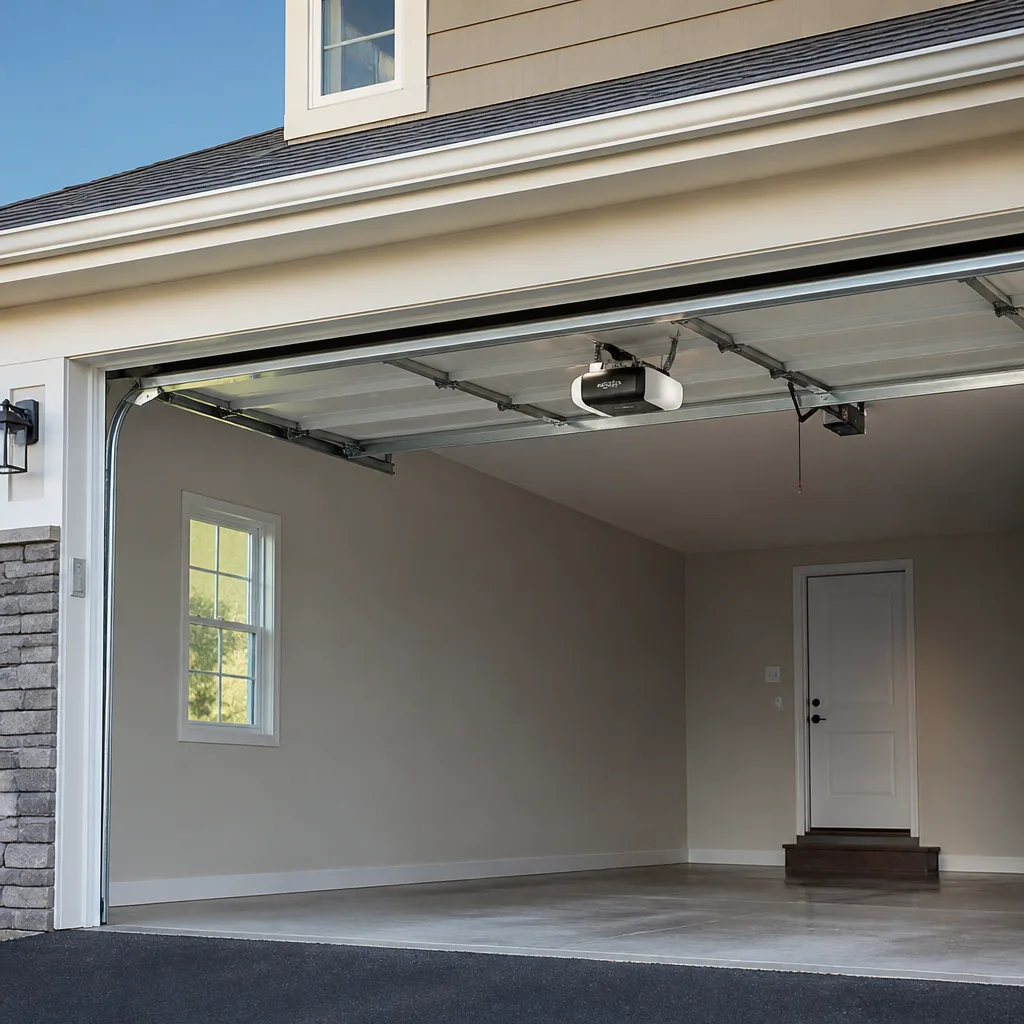 LiftMaster openers
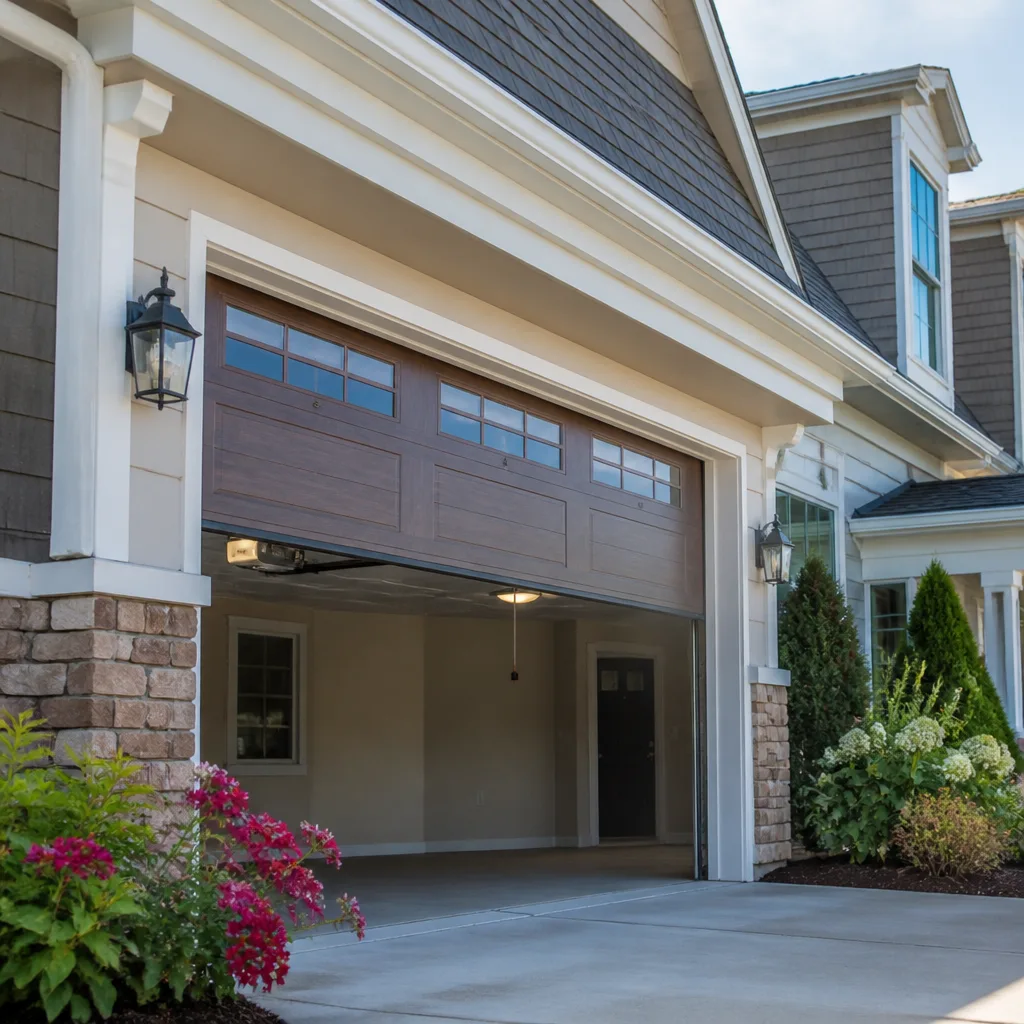 Chamberlain openers
Full 25-point door and opener safety check with every visit - springs, cables, rollers, tracks, and your LiftMaster or Chamberlain opener included
You get a price before we start. It does not change when the pro arrives.
Get your free estimateGarage Door Repair Maintenance Checklist for Hamilton Homeowners
The most expensive garage door repairs in Hamilton are almost always preceded by a warning sign the homeowner noticed but didn’t know how to interpret – a new scrape on the track, a half-second hesitation on the way up, a cable that looked a little loose. Garage doors rarely fail without notice. They telegraph what’s coming for weeks or months through sound, feel, and small visual changes, and most of us walk past those signs twice a day without registering them. This guide gives you a sensory-based maintenance checklist built around what a failing component actually looks, sounds, and feels like, along with the seasonal timing that fits Hamilton’s weather. You’ll learn what to check yourself, what to leave alone, and when to call.
Quick Answer
A working garage door maintenance routine in Hamilton comes down to three things: a monthly sensory check (sound, feel, and sight on the door’s travel), a balance test you can run in under 60 seconds, and seasonal lubrication and weatherstrip inspection timed to Maryland’s humidity and cold. Most serious failures – snapped torsion springs, worn cables, opener strain – announce themselves first as an uneven lift, a new noise, or a visible gap in the spring coil. Catch them early and you’re looking at a repair; ignore them and you’re looking at a repair plus the parts the failure took with it.
Styles & brands we work with
- Raised-panel steel
- Carriage house
- Modern flush
- Full-view glass
- LiftMaster openers
- Chamberlain openers
Table of Contents
- How Your Door Tells You Something Is Wrong
- Reading Torsion Spring Wear Before It Snaps
- The 60-Second Balance Test and What It Tells You
- Lubrication Points Hamilton Homeowners Miss
- Summer Humidity and Wood Bottom Seal Rot
- A Seasonal Timing Map for Hamilton
- Side-Mount vs. Ceiling-Mount Openers: What to Check
- The Monthly Walk-Around Routine
How Your Door Tells You Something Is Wrong
A garage door communicates through three senses, and learning to read those signals is the whole skill. Sound first: a healthy door is quiet and consistent. It travels at one speed, one volume, one rhythm. Any change – a scrape, a groan, a rattle that wasn’t there last month, a hesitation at a specific point in the travel – is data.
Feel second. When the door is opening or closing, put a hand lightly on it. It should feel even and steady. If it shudders, jerks, or feels like it’s working harder on one side, the balance or the springs are telling you something. Sight third: look at the door’s horizontal line, the track alignment, the cables on each side, and the spring above. A door that sits slightly crooked, or a track that has pulled a fraction of an inch from the jamb, is a door under uneven load.
Three signals that mean “call it in”
- The bang-then-nothing sequence. You hear a sharp bang from the garage, then the door won’t lift, or lifts a few inches and stops. That’s the sound and aftermath of a torsion spring failure. Do not keep pressing the button.
- A visible gap in the spring. A healthy torsion spring is one continuous coil. If you can see a gap between coils – a section where the coil has separated – the spring has broken. This is for your eyes only, not your hands.
- An uneven lift. One side of the door rises ahead of the other, or the door rises crooked and drops back. This can come from a slack cable, a failing spring, or a bent roller, and it all points to a component under stress.
In our experience across Hamilton, the homeowners who catch these early avoid the domino failures – a snapped spring that takes out the cable, a strained opener that burns out its gear because it spent months dragging an unbalanced door. Our technicians have up to 11 years of experience, and reading these signs is what a diagnosis starts with. If you’re seeing any of this, that’s the moment for garage door repair rather than another month of pressing the button and hoping.
Reading Torsion Spring Wear Before It Snaps
Torsion springs are the hardest-working component on your door and the one most likely to fail. They sit on a shaft above the door opening, twist to counterbalance the door’s weight, and take the entire load every time the door goes up or down. A typical residential door cycles thousands of times a year, and springs wear out as cycles accumulate. The failure mode is a snap, but the warning is almost always visible weeks before.
What torsion spring wear looks like
- A slight sag or change in position. The coil may no longer sit as tightly wound as it once did, or the spring’s end may have crept.
- Discoloration at the coils. The paint near the end of a spring often wears or shows fine cracks as the metal fatigues.
- Rust speckling on the coil. Maryland humidity works on steel. Rust doesn’t snap a spring on its own, but it marks one that’s aging and worth watching.
- Uneven door travel. A torsion spring that’s weakened on one side of the door leads to the uneven lift described above.
What a broken spring looks like
A broken torsion spring has a clean gap where the wire has parted – a visible separation of maybe an eighth of an inch or more. If you hear the bang and then the door won’t lift, look up for that gap and stop there. Do not try to turn the spring, do not try to lift the door by hand to “test it,” and do not have anyone stand under the door. A torsion spring is under extreme tension even when it appears broken, and releasing it without the right winding bars and training can cause serious injury.
The same holds for extension springs, the coil springs that run along the sides of some older doors in Hamilton. They are also under load and also require a trained hand to replace safely. The spring repair service we offer exists because this category of repair is one most general handymen decline, and for good reason. When a spring is at the end of its life, a pair is almost always replaced together, and we’ll quote you that way from the start.
The 60-Second Balance Test and What It Tells You
The balance test tells you whether your door’s springs and driving mechanism are sharing the load correctly. A balanced door is one the springs can hold on their own at any point in its travel. An unbalanced door is one the opener has to drag up and push down, which wears out both the door and the opener. Here’s how to do it in under a minute, and it’s safe as long as you follow it exactly.
- Close the door completely and make sure no one is in the doorway.
- Pull the emergency release cord hanging from the opener rail to disconnect the door from the opener. The door is now under spring tension only.
- Lift the door by hand, slowly, to about halfway up – roughly waist height or a little higher. Use the bottom edge or a handle, not the panels.
- Let go. A balanced door stays in place. A door that drops means the springs are weak. A door that rises means the springs are too strong.
- Read the result. If it drops even a foot, your springs are losing tension and the opener has been doing too much work. If it rises, the springs are over-tensioned – less common but worth addressing.
The reading matters. A door that drops during the balance test points to weak or aging springs, and that’s the same wear that eventually leads to a snap. A door that wobbles or shudders during the test points to track or roller issues. A door that’s smooth in the balance test but noisy under opener power points to the opener or the drive chain, not the door itself. That distinction is what saves you from paying for spring work when the problem is actually the operator. Our garage door opener repair service picks up where the balance test leaves off.
Important: run the balance test with the door disconnected and be careful with the door as it moves. If the door feels heavy, drops suddenly, or won’t stay up at all, reconnect it, close it, and stop testing. That door is carrying a failing spring and needs a look from a trained technician. Reconnect the opener by re-engaging the release mechanism and running the door up a few inches to confirm it catches.
Lubrication Points Hamilton Homeowners Miss
Most homeowners know the door needs lubrication and stop there. What matters is where, how often, and how the lubrication differs between a door you open all year in Hamilton’s varied weather and one that sits against a humid summer. Here’s what a proper lubrication pass covers.
What to lubricate and with what
- Rollers and hinges: a few drops of a light, non-gumming lubricant on each roller stem and hinge pivot, once or twice a year. Avoid spraying the bearing surfaces of sealed rollers – the stem is what needs the lube.
- Torsion spring coils: a light coat along the coil helps with corrosion in humid months. Never put your hands near the spring while lubricating – use a spray extension or a cloth on a stick.
- Track edges: a thin film on the vertical track edges where the rollers travel, using a cloth rather than a direct spray.
- The opener rail: for chain- and belt-drive openers, a small amount on the drive chain or belt as recommended by the manufacturer. For screw-drive, follow the opener maker’s guidance.
Points people skip
The garage door’s bottom seal and the weatherstrip around the frame are part of the maintenance picture, but they don’t get lubricant. The parts that get missed most often sit around the opener’s placement. If you have a side-mount opener – the kind that mounts to the torsion shaft rather than the ceiling – the lubrication routine changes. Side-mount openers have their own moving parts and the torsion shaft itself is more exposed to view. On a ceiling-mount unit, the rail, the trolley, and the chain or belt are the focus.
Both kinds exist in homes across Hamilton, and knowing which you have is step one. On the side-mount units, the shaft bearings and the opener’s chain or belt assembly need checking separately from the door’s rollers and hinges. If you’re on a Craftsman or a Wayne Dalton system, the opener’s maintenance guide is a good reference for the specific drive parts. Whatever’s in your garage, the rule is the same: light, regular, and never on the moving parts you can’t safely reach.
Summer Humidity and Wood Bottom Seal Rot
Hamilton summers carry Baltimore’s humidity pattern – long stretches of warm, wet air that leave moisture sitting on surfaces. That moisture is what accelerates rot in wood garage door components, and the most vulnerable spot is the bottom seal where the door meets the ground. The bottom of the door sits against the concrete, collects water from rain and runoff, and stays damp longer than any other part of the door.
What to check at the bottom seal
- Softness. Press the wood or rubber bottom edge with your thumb. If it gives way easily or feels spongy, rot has set in.
- Color change. Dark streaks, black spotting, or a gray, weathered look at the bottom rail. Wood that’s known water damage starting to show.
- Bubbling paint. Paint blistering at the bottom is moisture trapped in the wood – a sign the seal has failed above it.
- Gaps at the corners. Weatherstrip at the bottom corners pulling away from the door, letting water behind.
What to check around the frame
The side and top weatherstrip is your door’s gasket against the outside. In humid months, check that the rubber is still pliable and attached, not brittle or curling away from the frame. Curled or cracked weatherstrip is water intrusion waiting to happen, and on Hamilton doors facing west or south, sun and humidity work together to break down the rubber faster. If the weatherstrip is shot, that’s a simple replacement – not a reason to think about a whole new door.
While you’re at the door’s bottom, check the bottom bracket that connects the bottom section to the lift mechanism. The bottom bracket and the cable attached to it are under tension from the lift mechanism. Do not loosen, adjust, or remove the bottom bracket or anything the cable attaches to. If the bracket is loose or bent, that’s the moment to call. Cables under tension can snap and cause serious injury.
A Seasonal Timing Map for Hamilton
The tasks that matter most in a Hamilton garage aren’t evenly spread through the year. Some checks belong in March before the summer humidity sets in, some belong in October before the cold, and some should happen every month. Here’s a timing map you can actually stick to.
March: before the heat and humidity
- Inspect the wood bottom seal and lower panels for any rot that took hold over the winter.
- Check the weatherstrip around the frame for winter damage and re-seal or replace as needed.
- Lubricate the springs, rollers, hinges, and opener parts before the summer heat bakes on old lubricant.
- Run the balance test to catch any change over the winter’s cold cycles.
October: before the cold and wet
- Re-check the bottom seal and weatherstrip before the wet fall and freezing winter.
- Inspect the door’s track for any looseness that could worsen with expanding wood and metal in the cold.
- Test the opener’s safety reverse by placing a small object in the door’s path on the ground and running the door down. If it doesn’t reverse, the opener needs attention.
- Lubricate again – this is the fall pass before cold weather makes the door’s metal contract and stiffen.
Monthly, year-round
- Listen for any new noise and note where in the travel it occurs.
- Watch the door’s rise and fall for hesitation or wobble.
- Look at the springs for a gap or discoloration.
- Check the safety reverse with a small object in the door’s path once a month.
One thing to know about timing in Hamilton: doors that face the street get full sun in the summer and sit in the meltwater of winter. Those are the doors that need the March check most urgently. A door with a wood bottom section in a shaded area will rot slower than one in full sun, because sun-warmed wood dries differently. If you’re not sure which side of the checklist your door falls on, we’ll come take a look – our free estimates cover exactly this.
Side-Mount vs. Ceiling-Mount Openers: What to Check
Garage door openers in Hamilton homes come in two main configurations, and the maintenance check differs between them. Most homes have a ceiling-mount unit hanging from the ceiling with a rail running to the door. A smaller share have a side-mount opener, the kind that mounts on the wall beside the door and turns the torsion shaft to lift it. Knowing which you have tells you where to look first.
Checking a ceiling-mount opener
- Check the rail for sag or looseness where it attaches to the ceiling.
- Look at the chain or belt for slack, fraying, or a replacement point.
- Verify the safety reverse with the small-object test each month.
- Listen at the trolley for grinding or a thud at either end of the travel.
Checking a side-mount opener
- Check the bracket and shaft bearings for noise or looseness.
- Note any change in the opener’s sound at the start of travel, since the shaft is under load immediately.
- Verify the safety reverse the same way – object in the path, door must reverse.
- Watch the shaft for any wobble, which points to a bearing or shaft issue rather than the opener itself.
If you have a LiftMaster, Chamberlain, Genie, or Craftsman opener, the brand name and model are printed on the unit’s housing, usually on a sticker near the motor. Brand and model matter because parts and settings differ. We’re factory-familiar with all four opener brands, along with Amarr, Wayne Dalton, Raynor, and Clopay doors, so whatever’s in your garage, we know its parts and how it should run.
The Monthly Walk-Around Routine
This is the routine that catches most failures before they cost you. It takes about ten minutes, once a month, and it’s what keeps our technicians from seeing the same avoidable damage over and over in Hamilton.
- Run the door once and listen. Note the sound at both ends and any new noise. The door should move smoothly, at one speed, from bottom to top.
- Put a hand on the door as it rises. Feel for even load. Any shudder, jerk, or sideways pressure is a signal.
- Look up at the spring. Check for a gap, discoloration, or any change in coil position.
- Look at the cables on both sides. Cables should be straight, under no visible slack, with no fraying. Never touch them.
- Look at the tracks. Both vertical tracks should be straight and firmly attached. A loose track bolt is worth noting.
- Test the safety reverse. Small object on the ground in the door’s path, run the door down, confirm it reverses. If it doesn’t, don’t close the door until it’s fixed.
- Check the weatherstrip at the bottom and sides. Pliable and attached, not brittle or curled.
- Note the date. If you can’t remember the last balance test or lubrication pass, that’s the answer.
If anything on the list gives you pause, jot it down – the position on the track, the sound, what the door did. That one note makes a diagnosis faster when a technician does come out. And if a problem looks beyond a maintenance item, that’s what our garage door repair service is for, along with the emergency service for doors that fail outright.
Common Mistakes to Avoid
- Ignoring a “small” scrape or wobble. A door that wobbles is a door with uneven load, and uneven load is exactly what accelerates spring and roller wear. Catching it at the wobble stage is a cheaper repair than catching it at the snap.
- Lubricating with a heavy grease or WD-40 as a long-term fix. WD-40 is a solvent, not a lasting lubricant, and heavy grease collects dust that eventually gums up the rollers. Use a light, non-gumming lubricant and apply it at the seasonal check, not just when the door starts squeaking.
- Turning the torsion spring to “test” it. Springs are under extreme tension. A homeowner cannot safely adjust one without winding bars and training, and the injury risk is real. If the spring looks wrong, that’s a call, not a wrench.
- Replacing the whole door when the issue is a weatherstrip or a worn bottom seal. Door replacement is the right answer for a door at the end of its life, not for a failed gasket. That distinction is one we’ll help you make honestly – repair first, replace only when it’s the right call.
- Skipping the balance test because the door “still goes up.” A door can open and close for a long time on weak springs while the opener does all the lifting. The cost shows up later as a burned-out opener, which is a bigger repair than a spring.
- Running the opener while the door is visibly misaligned or crooked. If the door’s horizontal line is off or a track has pulled away, pressing the button compounds the damage. Stop, look, and call.
- Not checking the safety reverse. It’s part of the door’s safety system, not just a convenience. Test it monthly and address it the day it fails.
See the difference
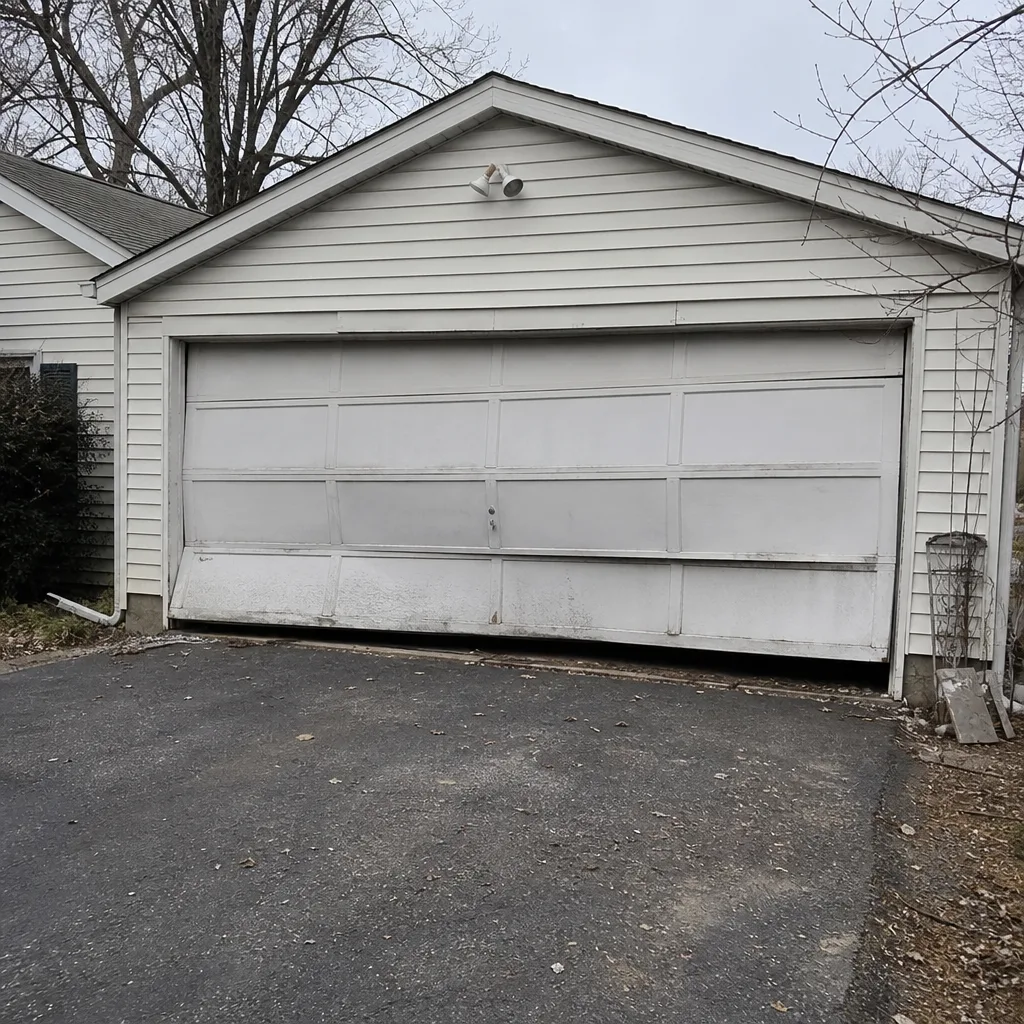 Before
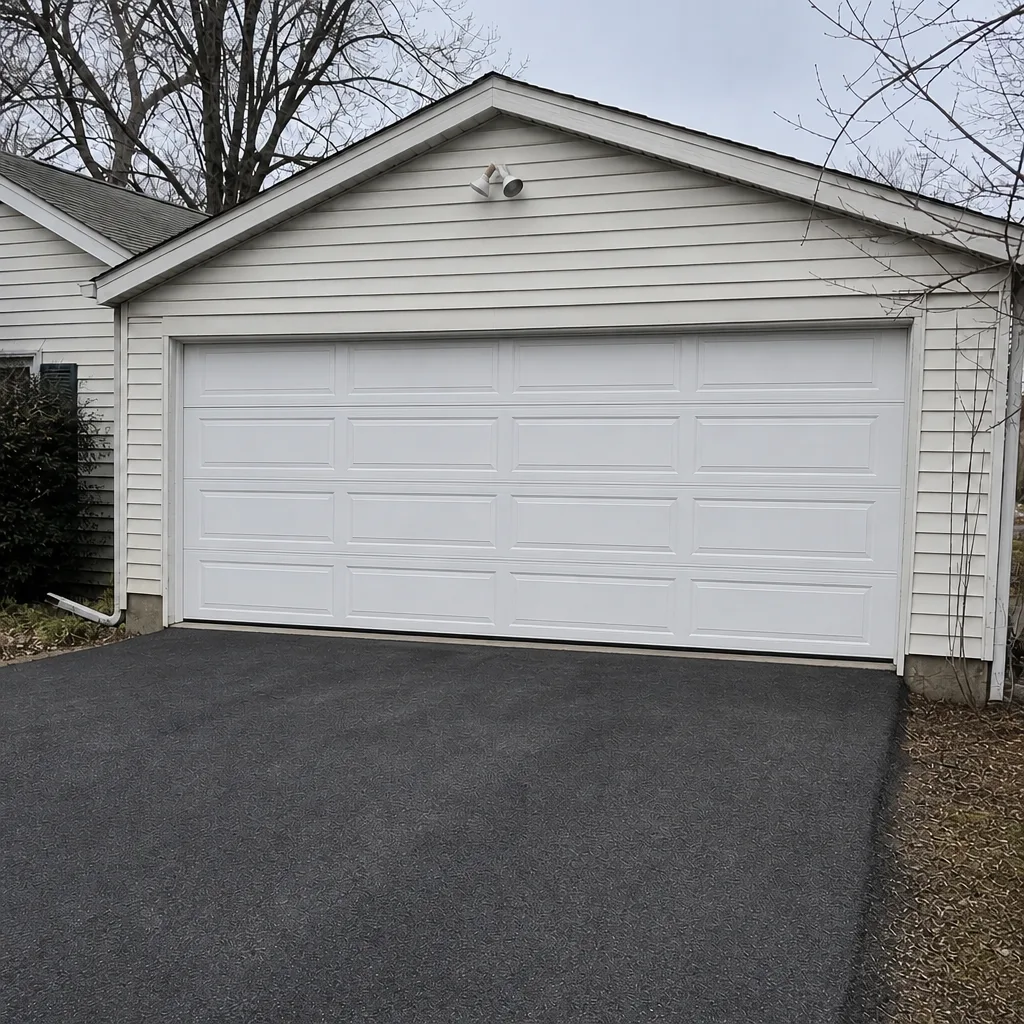 After
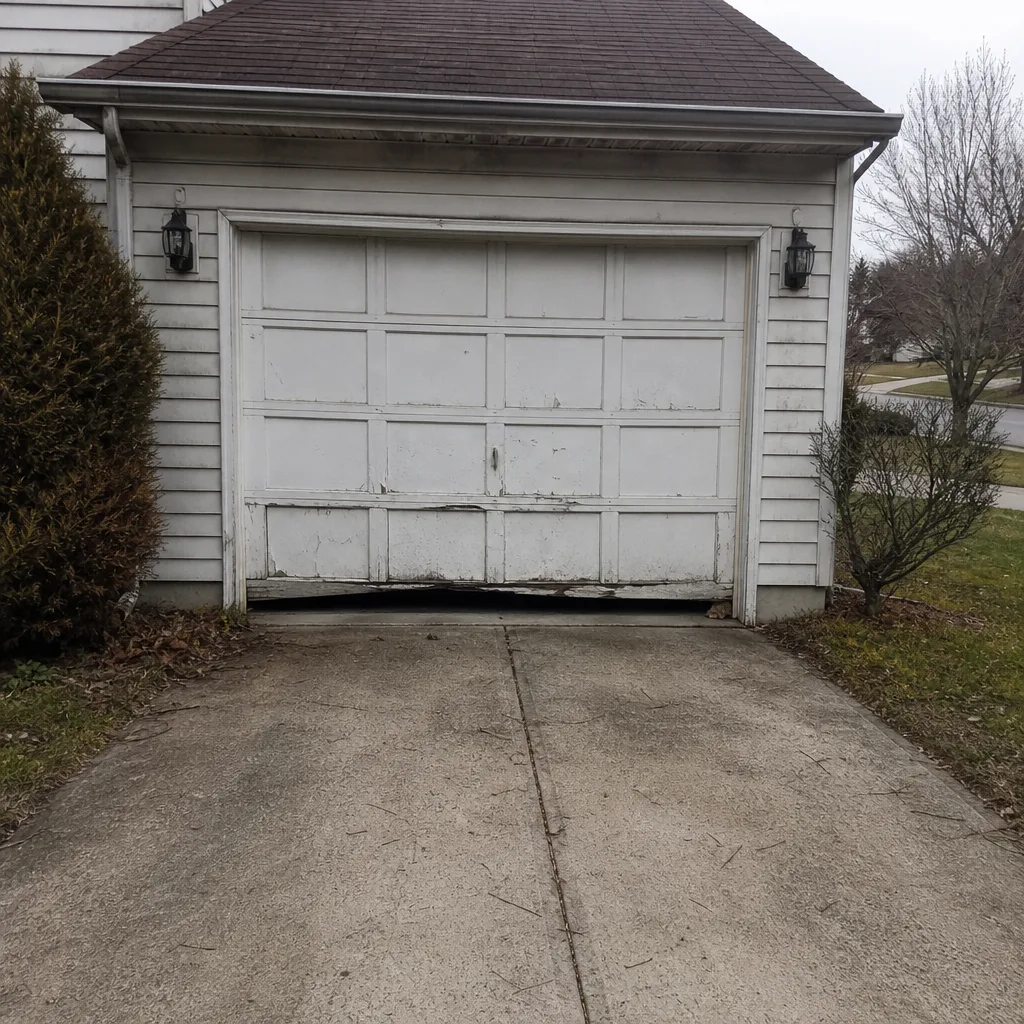 Before
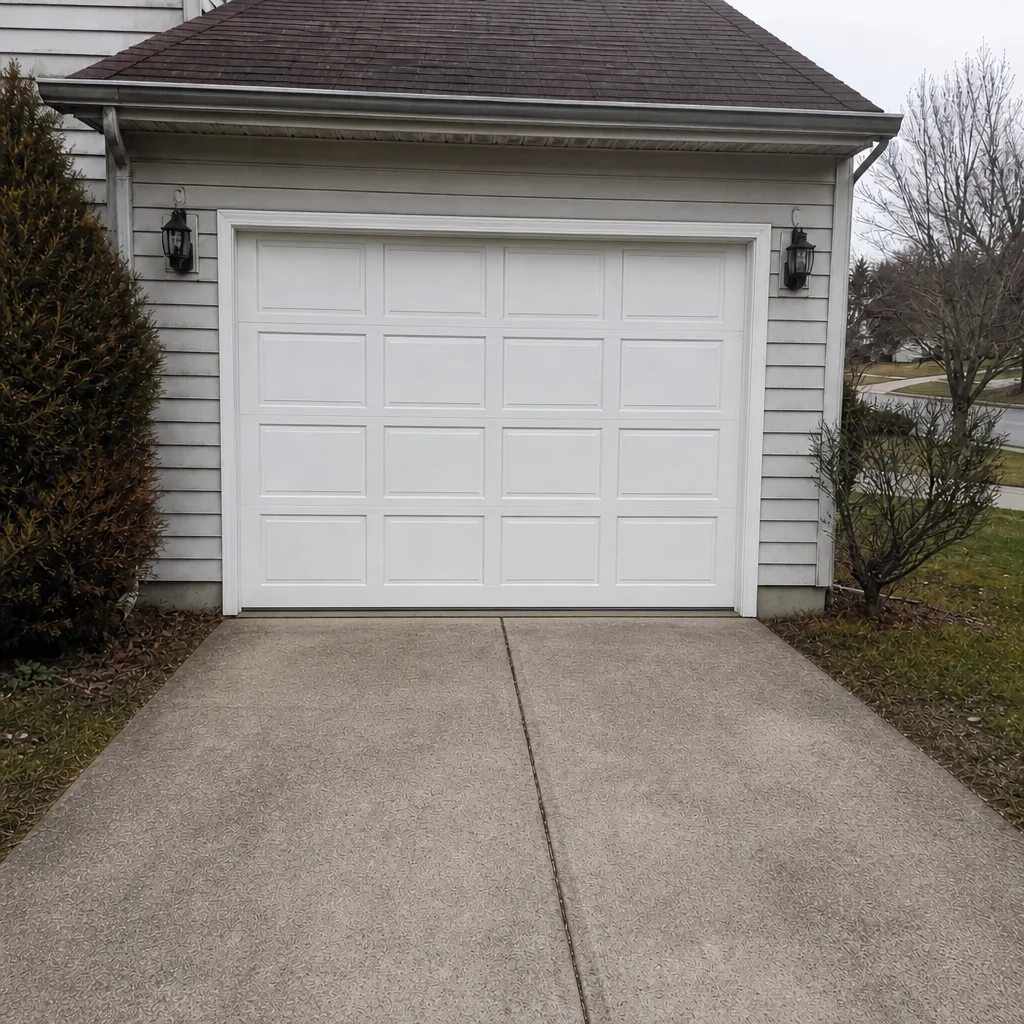 After
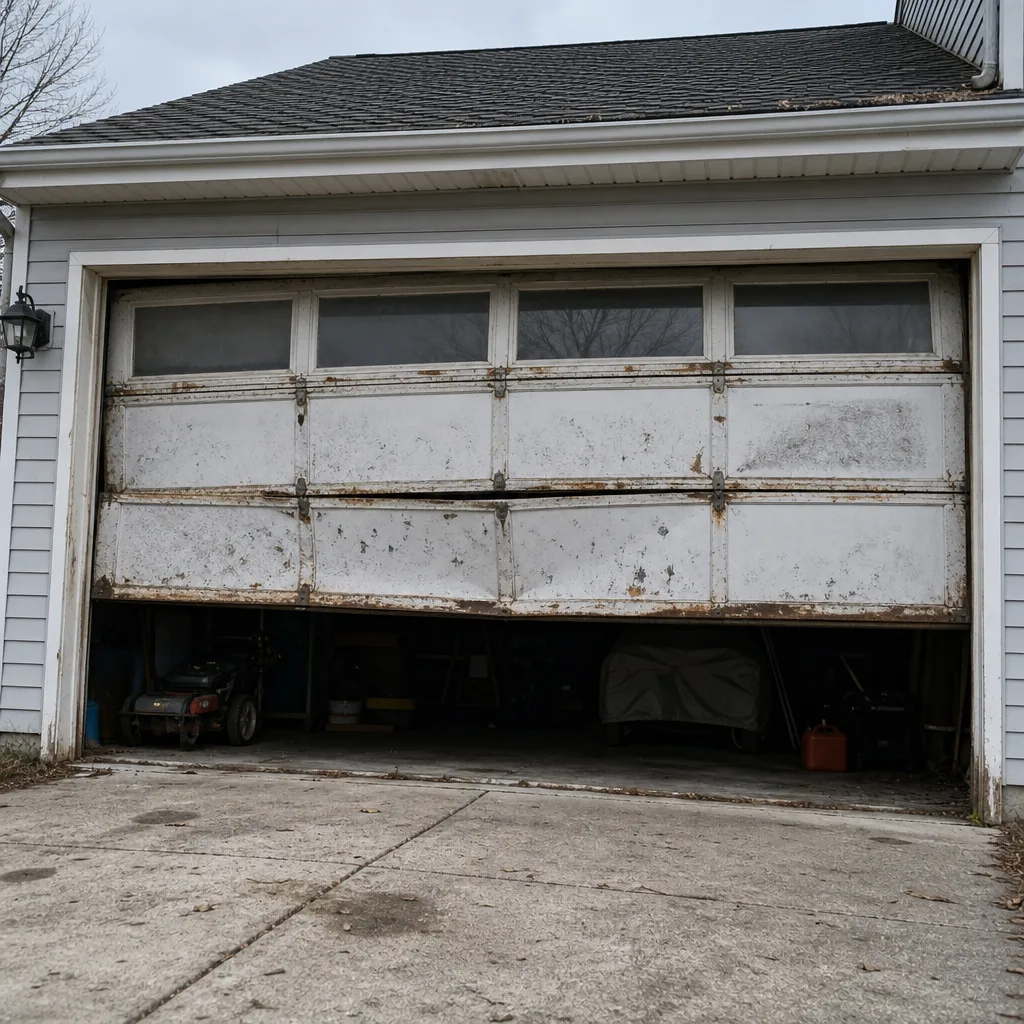 Before
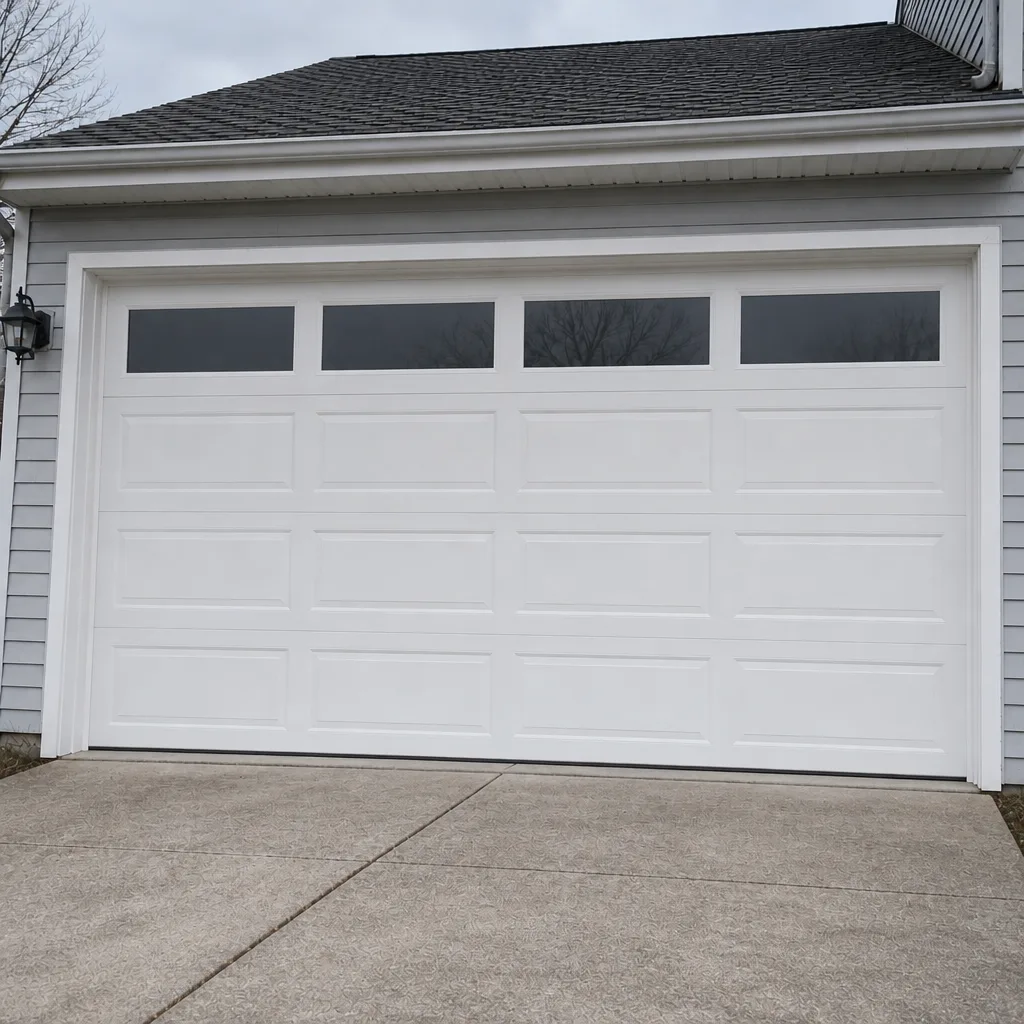 After
When to Call a Professional
Call a professional the moment you see any of these: a snapped torsion or extension spring, a slack or frayed cable, a door that comes off its track, a door that won’t reverse when something is in its path, a door so far out of balance it drops quickly when half-open, or an opener that runs but doesn’t move the door. Don’t wait for a convenient time to check any of these – a broken spring or a compromised cable means the door is under load it can’t handle. Beyond that urgent list, call when you’re planning a new door because the current one has reached the end of its life. Hamilton Garage Door Repair Pros offers free estimates in Hamilton – call (855) 502-5595 and we’ll assess the door, quote the repair, and get the fix scheduled.
Frequently Asked Questions
Twice a year for full lubrication and a balance test, with a ten-minute visual and sound check monthly. Spring and fall, before the humidity and before the cold, are the two seasonal points that matter most for a door in Hamilton. If a door gets heavy use – say it’s the main family entrance – go more often.
Look for a visible gap between the coils, discoloration or fine cracks near the spring’s end, rust speckling, or a door that lifts unevenly. A break is preceded by these signals most times. If you can see a gap, don’t touch the spring, and don’t run the door. Call (855) 502-5595 for an assessment.
The sensory checks, the balance test, lubrication on the rollers and hinges, and the safety reverse test are all fine to do yourself. The parts you must not touch are the torsion springs, the cables, the bottom bracket, and the tracks under tension. Those need a trained technician, and that’s where our spring repair service comes in.
A failing opener usually starts with a grinding or thud at the trolley, a hesitation at one point in travel, or a change in pitch at the start of the cycle. A door that runs fine but the opener won’t move it usually means the drive chain or belt has failed, not the door. Repairs on LiftMaster, Chamberlain, Genie, and Craftsman units are routine for us.
It depends on cycles, humidity exposure, and how well the door was maintained – a maintained door keeps going much longer than one that’s been ignored. If the panels are bowing, the bottom section has rotted through, or repairs would cost more than a new door, replacement makes sense. Our garage door installation service covers Amarr, Wayne Dalton, Raynor, and Clopay doors.
Nothing prevents a spring that’s reached its cycle limit from failing sooner or later. What maintenance does is catch the wear signals – the uneven lift, the visible gap – so you schedule the replacement before it snaps and takes other parts with it. That’s the cost difference that matters.
The Bottom Line
Garage door maintenance in Hamilton isn’t a long list of tasks. It’s a small set of sensory checks – sound, feel, and sight – run at the right times of year. Listen for the change, feel for the wobble, look for the gap. Run the balance test when you wonder, and treat the safety reverse as a monthly requirement, not an afterthought. If a spring, cable, or track is what’s wrong, that’s a call to us, not a project for the weekend. Everything else you can handle yourself, and when you’re ready to have the door looked at, our team’s here.
Hamilton Garage Door Repair Pros is your local source for Hamilton Garage Door Repair Pros, spring repair, opener repair, and installation, with emergency service when a door needs it now. Call (855) 502-5595 for a free estimate.
Written by the team at Hamilton Garage Door Repair Pros.