Last updated November 21, 2026
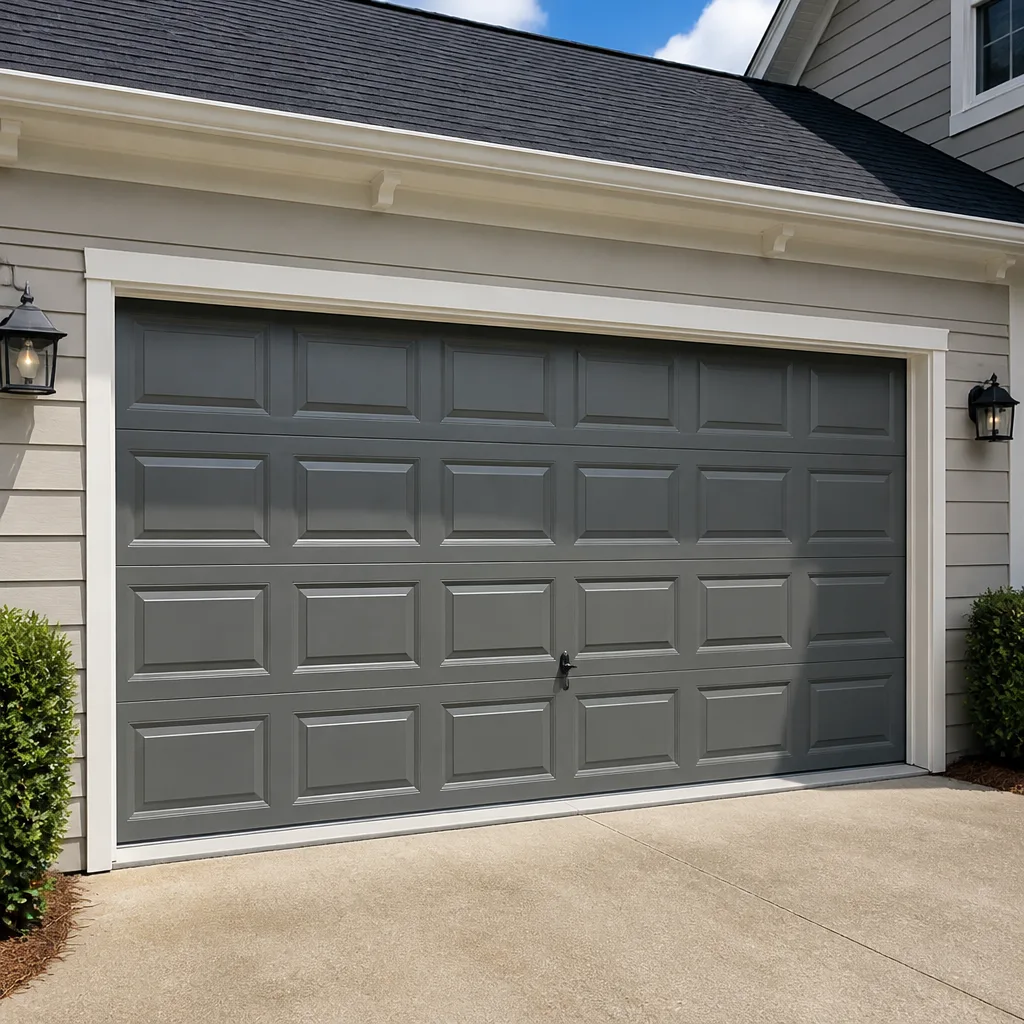 Raised-panel steel
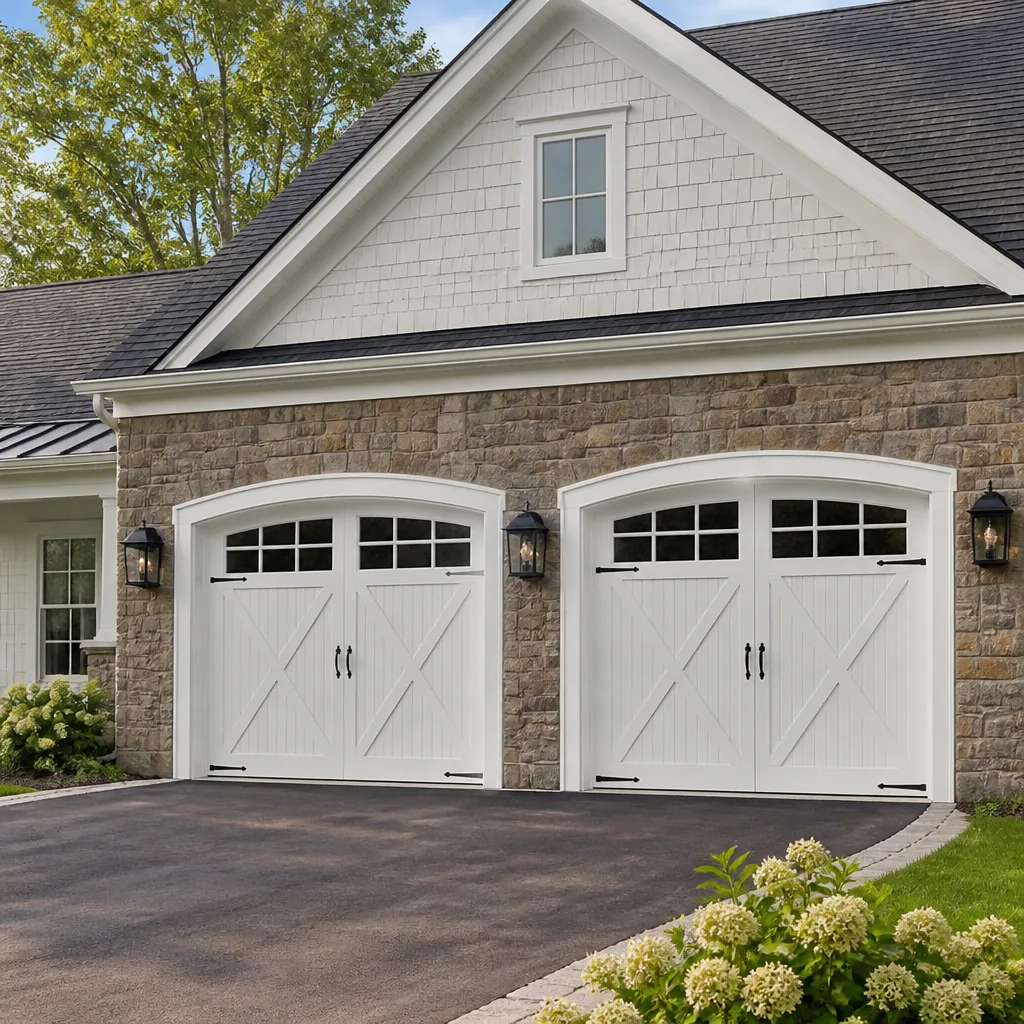 Carriage house
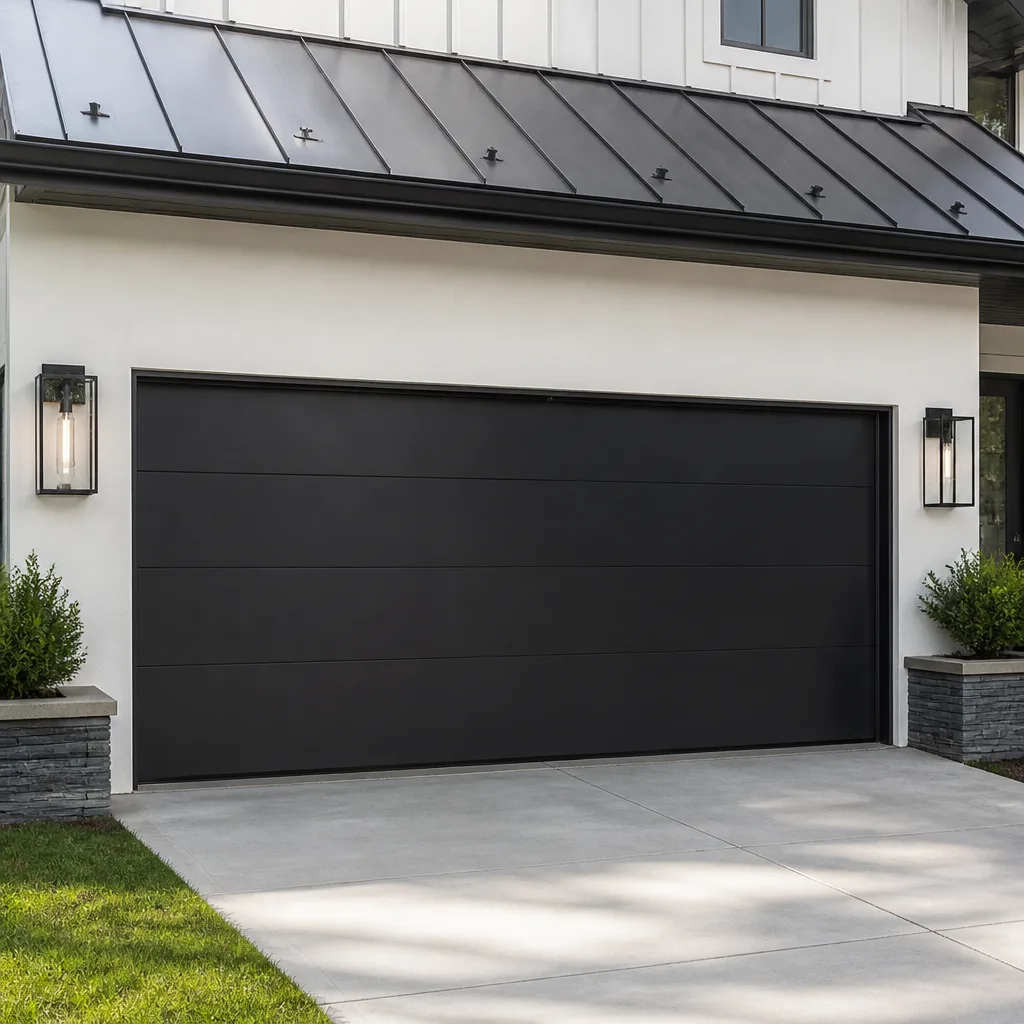 Modern flush
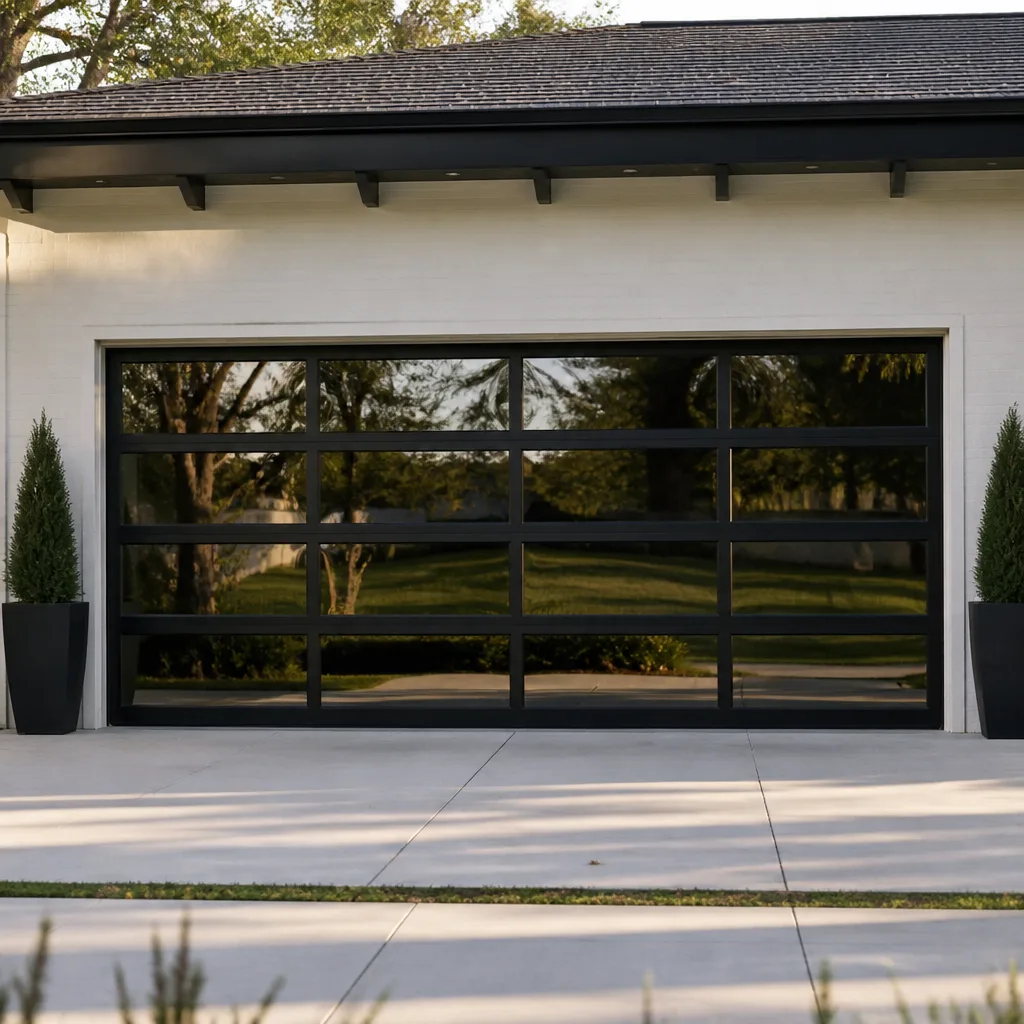 Full-view glass
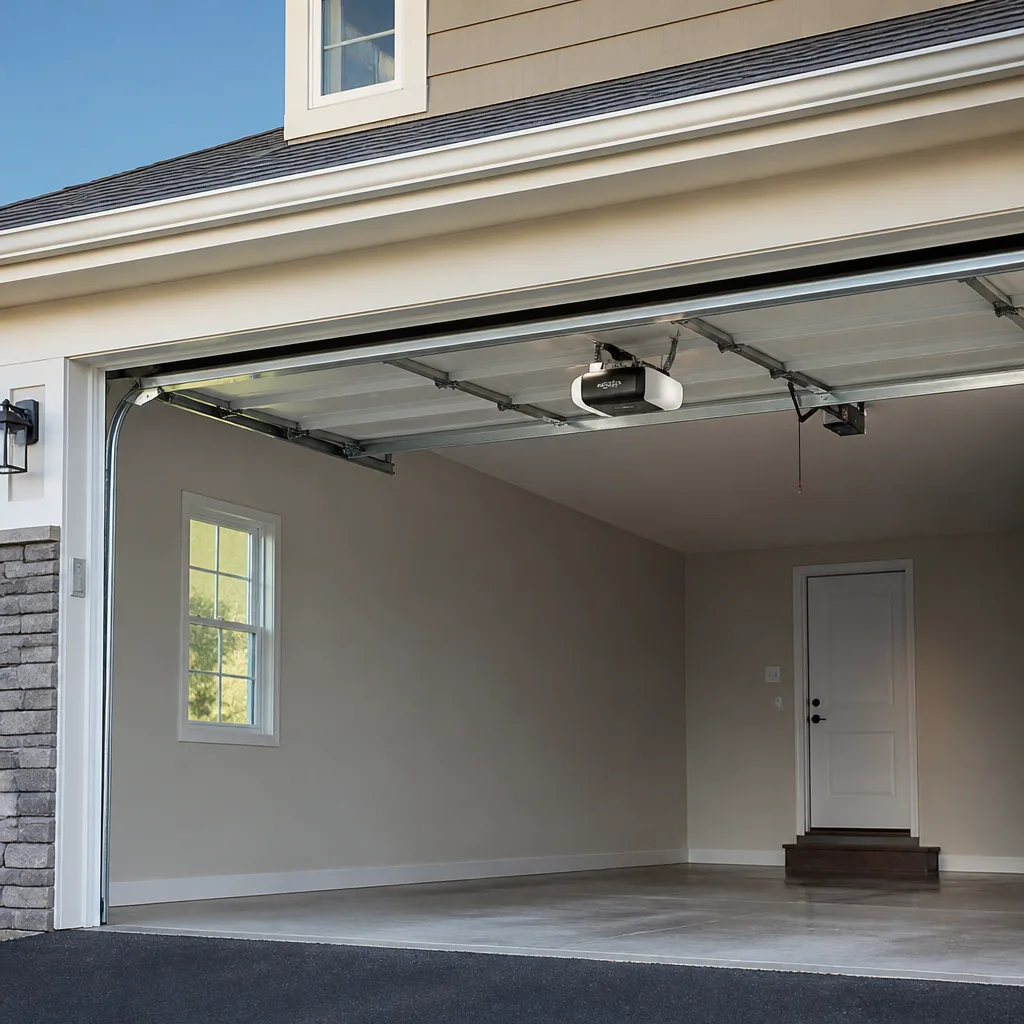 LiftMaster openers
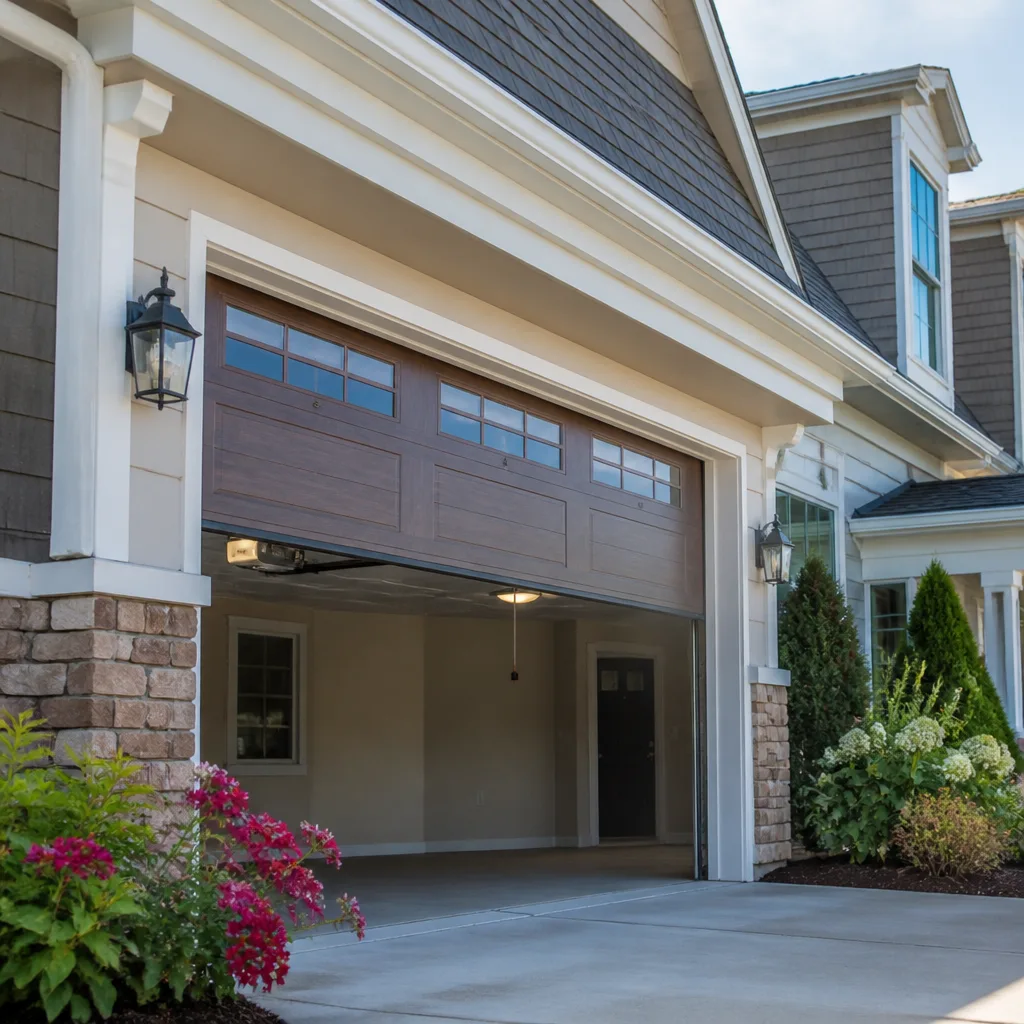 Chamberlain openers
Full 25-point door and opener safety check with every visit - springs, cables, rollers, tracks, and your LiftMaster or Chamberlain opener included
You get a price before we start. It does not change when the pro arrives.
Get your free estimateSeasonal Garage Door Care for Hamilton: Year-Round Homeowner’s Guide
Most homeowners in Hamilton assume the fall tune-up is what keeps a garage door running all winter. It’s usually not. The step that matters most happens in late August, when the humidity finally breaks and you can feel the hardware on your door for the first time in weeks. Skip that check and a door that ran quietly in October can be frozen shut by the first hard freeze in January. This guide covers what to actually look at, season by season, in Hamilton’s particular climate: the humidity that attacks torsion springs in summer and the freeze-thaw cycle that cracks bottom seals and shifts frames in winter. You’ll get a schedule you can follow without special tools, the checks that catch problems early, and the ones best left to a trained technician.
Styles & brands we work with
- Raised-panel steel
- Carriage house
- Modern flush
- Full-view glass
- LiftMaster openers
- Chamberlain openers
Quick Answer
Garage door care in Hamilton, MD, should follow a four-season schedule: a late-summer corrosion check on springs and hardware, a fall lubrication and weatherstrip pass before the first freeze, a winter inspection of bottom seals and frame alignment after freeze-thaw cycles, and a spring check of the full mechanism before the humid season returns. The single most important step is the late-summer inspection of your torsion spring coils, because humidity-driven corrosion there is the leading cause of winter spring failures in this region.
Table of Contents
- Why Hamilton’s Climate Is Hard on Garage Doors
- Late-Summer Humidity and Torsion Spring Corrosion
- Winter Lubrication: When Your Standard Lube Stops Working
- Spotting Weatherstrip Compression Failure Before You Feel It
- Spring Tasks After Freeze-Thaw: Frames, Seals, and Cables
- Preparing a Wood Door for Hamilton’s Humid Summer
- A Year-Round Maintenance Schedule for Hamilton
- Common Mistakes to Avoid
- When to Call a Professional
- Frequently Asked Questions
Why Hamilton’s Climate Is Hard on Garage Doors
Hamilton, MD sits in the Mid-Atlantic transition zone, which means garage doors here get hit from both directions. Summer humidity climbs high enough to swell wood panels and coat bare steel hardware with condensation. Winter swings across the freezing line repeatedly, sometimes within the same week, and each freeze-thaw cycle works metal, seals, and framing just a little looser. A door in a drier climate deals with one kind of stress. A door in Hamilton deals with two, and the window between them is short.
That matters because most published garage door maintenance advice is written for one climate or the other. Generic “lubricate twice a year” schedules don’t account for the fact that a Hamilton summer does more damage to springs than a Hamilton winter does, or that the critical lubrication window here is narrower than the national guides suggest. If you follow a schedule written for Phoenix or for Minneapolis, you’ll miss the specific failure points this region produces.
Here’s what the local cycle actually looks like:
- June through September: Humidity, condensation, and corrosion. Wood swells, bare steel rusts, and spring coils begin the slow pitting that leads to winter failure.
- October through November: The window to prep. Lubricate with a winter-grade product, check seals, and address anything that shifted over the summer.
- December through March: Freeze-thaw. Bottom seals crack, frames heave, and springs that were already weakened by summer corrosion finally let go.
- April through May: Recovery and reset. Inspect for winter damage, realign what shifted, and get the door ready for the humid season again.
We work on doors across Hamilton and see the same pattern every year: the calls that spike in January are almost always traceable to something that started in August. That’s the reason this guide front-loads the summer checks instead of the winter ones.
Late-Summer Humidity and Torsion Spring Corrosion
The torsion spring on a garage door is a coil of high-tension steel under constant load. When humidity in Hamilton sits high for weeks, condensation forms on the coils, especially in a garage that isn’t climate-controlled. The result is a specific corrosion pattern: fine pitting between the coils, where moisture gets trapped and doesn’t evaporate. That pitting is what turns into a winter failure.
This is the check most homeowners skip because it requires looking up at the spring assembly specifically, not just the door itself. In our experience, it’s the single most predictive inspection you can do in late August. Run a fingertip along the visible coils and look for any roughness, chalky white residue, or reddish-brown speckling. Smooth and dry is fine. Rough or discolored means the spring is already weakened going into the cold season.
- Look before you touch. Spring assemblies are under extreme tension. Visual inspection from a safe distance is fine. Do not adjust, unbolt, or try to loosen anything on the spring system.
- Check at the end of summer, not the start. The corrosion that matters has built up over months of humidity. A June check tells you almost nothing about how the spring will behave in January.
- Look for a light rust bloom at the coil gaps. Any pitting between the coils is a warning sign. Small surface rust on the bracket is cosmetic; rust inside the coil gaps is not.
- Listen between the warm and cool months. If the door starts making a popping or snapping sound as it opens, the spring may be binding or already stressed.
- Call before it fails, not after. A spring that shows visible corrosion can be replaced proactively. A spring that snaps while you’re underneath the door is a much worse scenario.
Extension springs, still common on older Hamilton homes, corrode in a similar way but fail with more noise and less warning. If your door uses extension springs, look at the coils, the safety cables that run through them, and any rust on the end hooks. Those safety cables are the reason a broken extension spring doesn’t become a projectile. If they’re missing or loose, that’s a call.
A weakening torsion spring is also why winter opener failures get blamed on the wrong part. Homeowners call us about a dead opener when the actual problem is a spring that stiffened up over the summer and the opener has been straining to compensate for months. We cover both in garage door opener repair, but you’ll save yourself time if you know which one is failing.
Winter Lubrication: When Your Standard Lube Stops Working
Standard garage door lubricant thickens noticeably as temperatures drop below roughly 40°F, and below about 30°F it can stop flowing into the hinges and rollers entirely. Practically, that means the lube you applied in September has gone stiff by the time you actually need it in January. The rollers drag, the hinges creak, and the opener works harder than it should. The fix is a winter-grade lubricant, but it has to go on before the cold arrives.
What works better in Hamilton winters:
- Lithium grease or a PTFE-based garage door lubricant stays pliable longer than silicone spray and doesn’t gum up in the cold. Apply it in late October, before the first hard freeze.
- Skip WD-40 as a lubricant. It’s a decent penetrating oil and solvent, but it isn’t a winter lubricant. It’ll disappear within weeks and may attract dust that makes the hinges worse.
- Grease the hinges, rollers, and the length of the torsion spring with a small amount on a cloth. Wipe off the excess. Don’t spray grease directly, since overspray ends up on the door and the tracks.
- Wipe the tracks clean but don’t lubricate them. The tracks on most doors should be dry. Rollers roll through them, and a greasy track collects grit.
- Follow up in January. A mid-season touch-up on the hinges keeps the door quiet when the temperature bottoms out.
If your opener is a LiftMaster, Chamberlain, or Genie model, check the opener’s force settings before the winter. If the door starts dragging on stiff lube, the opener will use more force to push through it, and on older units that means more strain on the drive gears. That’s one of the failure points we see most in Hamilton in January and February. It’s worth knowing how to recognize it early rather than after the opener grinds to a halt.
None of this takes long. Most of the lubrication pass is a fifteen-minute job with a rag and a tube of grease, and it prevents the more expensive fixes that show up later in the season.
Spotting Weatherstrip Compression Failure Before You Feel It
The weatherstrip along the bottom of your garage door is a compressible seal. It works by flattening against the concrete when the door closes, and it only seals while the rubber is still soft enough to compress. In Hamilton, the freeze-thaw cycle repeatedly hardens and stiffens the strip, and after a few seasons it stops springing back. The symptom most homeowners notice first is cold air coming in underneath the door, or a whistling gap on windy days. But the energy bill that follows is usually a month behind the failure.
You can catch it earlier than that. Here’s what to look at:
- Close the door and look at the seal from inside. Any visible light gap along the bottom tells you the strip isn’t sealing. You shouldn’t see daylight from inside a properly closed door.
- Look for visible cracks in the rubber. Fine cracks along the bottom edge, especially near the center where the door flexes most, mean the strip is ready to be replaced.
- Press the strip with your thumb. It should feel firm but still spring back. If it stays compressed or feels hard and brittle, it’s failed.
- Check the side and top seals too. The bottom seal gets all the attention, but side and top weatherstripping also hardens and separates, and a gap at the sides lets in just as much air.
- Feel for drafts on a cold morning. If the garage feels noticeably colder than the outside temperature would explain, the seal is likely leaking somewhere.
Replacing a bottom seal is a straightforward job that most homeowners can handle with a replacement strip matching the door’s channel type. If the seal is the original one that came with a Clopay or Amarr door, getting the right replacement profile matters; a generic strip won’t seat properly in a door-specific channel. If you’re not sure which profile you have, that’s a good reason to call us before you order a strip.
Freezing temperatures aren’t the only enemy here either. Ice can build up along the bottom seal, and if the door closes onto a frozen seal, the rubber can tear. Once that happens, water gets into the channel and the seal fails from the inside. It’s worth clearing snow and ice away from the door’s bottom edge during storms, especially in Hamilton where heavy wet snow is common.
Spring Tasks After Freeze-Thaw: Frames, Seals, and Cables
By mid-March, the ground in Hamilton has gone through more freeze-thaw cycles than most homeowners realize. Each cycle lifts and settles the ground slightly, and that movement transmits into the door frame, the concrete floor, and the cable system. Three specific things need checking once the ground thaws out and before you settle into spring.
Check for frame heave
Look at the door’s vertical jambs where they meet the concrete. If the jamb trim has separated from the wall, or if the gap at the top of the door has changed noticeably since fall, the frame has likely shifted. A garage door that worked smoothly in October and now drags or binds is usually a symptom of frame movement, not a sudden failure of the door itself.
Inspect the bottom seal for cracking
Winter is brutal on the bottom seal. Cold makes rubber brittle, and impact against frozen ground can crack it. Run your hand along the bottom edge of the door and look for cracks, tears, or sections the seal no longer covers. Replacing a bottom seal in spring costs far less than repairing the door’s bottom section after moisture gets inside it.
Check cable drum alignment
The drums at the top of the door carry the lift cables. After freeze-thaw cycles the cables can stretch slightly or slip a groove. Look at both drums with the door closed: the cables should be wound evenly, and the drum housing should sit level. If one drum looks noticeably different from the other, or if a cable is loose or off its groove, stop operating the door and call a technician. Cables are under extreme tension and can snap without warning.
Same caution applies to the spring assembly itself. Never attempt to adjust a torsion or extension spring yourself. A broken spring can release enough energy to cause serious injury, and the tools required to safely work on a spring system aren’t the kind of thing most homeowners should keep in the garage.
Preparing a Wood Door for Hamilton’s Humid Summer
Standard summer prep advice for a wood garage door says to “repaint every few years and keep it clean.” For a Hamilton door, that advice is incomplete. The humidity here is high enough during the summer that wood panels swell, paint cracks at the joints, and water gets behind the finish. Once that happens, the same freeze-thaw cycle that damages seals in winter accelerates wood rot the following cold season. For Hamilton’s humidity, wood doors need a pre-summer moisture check, not just a fresh coat of paint.
What “preparing for summer” actually looks like on a Hamilton wood door:
- Check the panel joints for gaps or soft spots. Any gap where the wood has begun to separate is a place where water will sit. Repairing it now is much cheaper than replacing a panel later.
- Look for paint cracking or peeling at the joints. Paint cracks where moisture is escaping from inside the wood. Sand the joint, prime it, and repaint.
- Check for wood rot at the bottom edge and around the panels. Press a screwdriver into the wood near the bottom rail. If it sinks in easily, the wood is already compromised. A door with rot at the bottom section needs that section replaced, not painted over.
- Reapply exterior finish before the humid season, not after. Late spring is the window. Painting in the middle of summer humidity means the paint won’t cure properly and you’ll be doing it again next year.
- Keep a small gap between the door and the frame during storage. If you have a second vehicle bay that’s rarely used, that door still needs the same maintenance. Wood doors in a closed position collect more moisture than doors that get used daily.
If your wood door is on its last legs, patching rot is a short-term fix at best. Sometimes the honest call is that the door has reached end of life. We can talk through whether garage door installation makes more sense than another round of repairs, and we’ll tell you what the door is actually doing rather than push a replacement you don’t need.
A Year-Round Maintenance Schedule for Hamilton
Here’s the full seasonal schedule in one place. Set reminders on your calendar for the months below, and the door’s condition won’t be a surprise either summer or winter.
- Late August (end of humidity season): Inspect the torsion spring coils for rust and pitting. Wipe down the spring assembly. Listen for popping sounds during operation. This is the most important check on the list.
- Late October (before the first freeze): Lubricate hinges, rollers, and spring with a winter-grade product. Check bottom seal compression. Look for daylight gaps around the door. Test the opener and the safety reverse on both sides.
- Early January (mid-winter check): Touch up door hinges with grease. Clear ice from the bottom seal. Listen for signs of a dragging opener or stiff operation. Do not try to force a frozen door open.
- Mid-March (after the last freeze): Inspect the frame for heave. Check the bottom seal for cracking. Look at both cable drums for even winding and drum alignment. Call a technician if anything looks off.
- Late April (recovery and prep): Reapply lubricant for the warm season. Touch up any paint or finish that faded over the winter. Check weatherstripping and replace anything that hardened. Start the summer humidity plan for wood doors.
If you do nothing else on this schedule, do the late-August spring check and the late-October lubrication pass. Everything else is maintenance. Those two checks are what prevent the calls that come in January. For a deeper dive into the individual repairs each of these checks can lead to, our garage door repair page covers what we handle and how each job actually works.
One practical note: the schedule above assumes a door in reasonable condition at the start. If your door has been problematic for a while, the four-season routine won’t fix a pre-existing mechanical issue. It will just keep it from getting worse. Start with a full inspection by a technician, then run the seasonal schedule from there.
Common Mistakes to Avoid
- Lubricating in fall and forgetting about it. The first application doesn’t last the whole winter. In Hamilton, your hinges will be dry by January, and the opener will pick up the strain. A mid-season touch-up is worth the fifteen minutes.
- Confusing surface rust with coil pitting. A little rust on a bracket is cosmetic. Rust inside the coil gaps is a warning sign that the spring is compromised. They’re easy to confuse, and they mean very different things.
- Replacing the weatherstrip with a generic strip. A door built around a Clopay or Amarr channel needs a strip sized for that channel. A universal strip that seems close will seal poorly and fail faster. Check the door’s profile before you buy.
- Attempting to adjust a torsion spring. This is the single most dangerous mistake on the list. Springs are under extreme tension and can cause serious injury. Leave this one to a trained technician every time.
- Skipping the spring frame check after winter. Freeze-thaw shifts frames, and a door that worked fine in October will drag in March. If you don’t check the frame, you’ll blame the opener or the door when the real cause is the framing.
- Painting a wood door in mid-summer humidity. Late spring is the right window. A door painted during Hamilton’s humid August will have the paint fail within a year, which sends you back to square one.
- Forcing a frozen door open in winter. The most common way to break a bottom seal in January is to force a frozen door up. Break the ice gently from the outside first, or call a technician if you’re unsure.
When to Call a Professional
Some garage door maintenance is genuinely homeowner-friendly: lubrication, weatherstrip replacement, and visual inspections are all reasonable DIY work. Other jobs are not. Call a professional if any of the following is true:
- The torsion spring shows rust pitting, or the door is popping or snapping when opening.
- A cable is loose, off its drum, or visibly frayed. Cables can snap without warning.
- The door has shifted on the frame after winter and now binds or drags.
- The opener runs but the door doesn’t move, or the opener grinds but doesn’t lift.
- The bottom seal has a gap that a replacement strip won’t fix because the door or the concrete has shifted.
- The door is more than a few years old and hasn’t been given a full inspection.
Hamilton Garage Door Repair Pros offers free estimates in Hamilton, and we’ll give you a straight answer on what needs fixing and what can wait. Call (855) 502-5595 to schedule an inspection. If it’s an emergency – a broken spring trapping a car, a door stuck open overnight – we have emergency garage door service available because a malfunctioning door is a real security problem, not just an inconvenience. Our technicians have up to 11 years of experience and work on the brands most homes in the Hamilton area actually have, including LiftMaster, Chamberlain, Genie, and Clopay.
Frequently Asked Questions
Twice a year: once in late October with a winter-grade lubricant before the first freeze, and once in late April or early May as temperatures warm up. A mid-winter touch-up in January keeps the door quiet when the cold is hardest on the hinges. If the door gets heavy use or sits in an unheated garage, add a third application in late August as part of your seasonal check.
Most winter failures in Hamilton trace back to corrosion that built up over the humid summer. Torsion springs that develop pitting in July and August are weakened going into the cold, and the first hard freeze overloads them. The other common cause is stiff lubricant that stopped flowing in the cold, which strains the opener. If your door fails every winter, the fix is usually a late-August spring inspection, not a new door.
The critical temperature is around 40°F for lubrication and about 30°F for freeze-thaw damage to seals and springs. Below 40°F, standard lubricant thickens enough to stop working. Below 30°F, the bottom seal on a Hamilton door is most likely to crack, and any moisture around the door will freeze. Your pre-winter prep should happen before 40°F, not after.
Yes, if the track is standard and the strip fits the channel. That’s the catch: doors built around Clopay, Amarr, and similar brand channels need a strip sized for that specific profile. A universal strip that seems close will seal poorly and fail faster. If you’re not sure which profile you have, call us and we’ll tell you before you order a strip.
Look for visible cracks in the rubber, a gap of daylight under the door when it’s closed, or a seal that feels hard and brittle when you press it. Any of those means it’s failed. In Hamilton, winter usually brings at least one cracked seal per door. Replacing a bottom strip is cheap. Letting it go until spring rain gets inside is not.
Both. The homeowner-friendly checks – lubrication, weatherstrip inspection, visual spring inspection – are worth doing yourself, because they catch small problems early. The jobs you should call for are spring adjustment, cable work, and frame realignment, because those involve real danger or specialized tools. A quick annual inspection by a technician plus a DIY schedule in between is the routine that keeps a Hamilton door running without surprises. Call (855) 502-5595 for a free estimate.
The Bottom Line
Garage door care in Hamilton isn’t about doing more maintenance. It’s about doing it at the right time of year. The humidity of summer is what weakens the spring that fails in winter. The freeze-thaw of winter is what cracks the seal that lets moisture in during spring. If you remember one thing from this guide, make it the late-August spring inspection: it’s the check that prevents the most expensive winter problems, and it takes about ten minutes. The rest of the schedule – fall lubrication, winter touch-ups, spring frame checks, and pre-summer wood door prep – keeps the door’s mechanism honest year-round. For anything involving springs, cables, or a door that’s shifted on its frame, call a technician instead of trying to handle it yourself.
Written by the team at Hamilton Garage Door Repair Pros.
See the difference
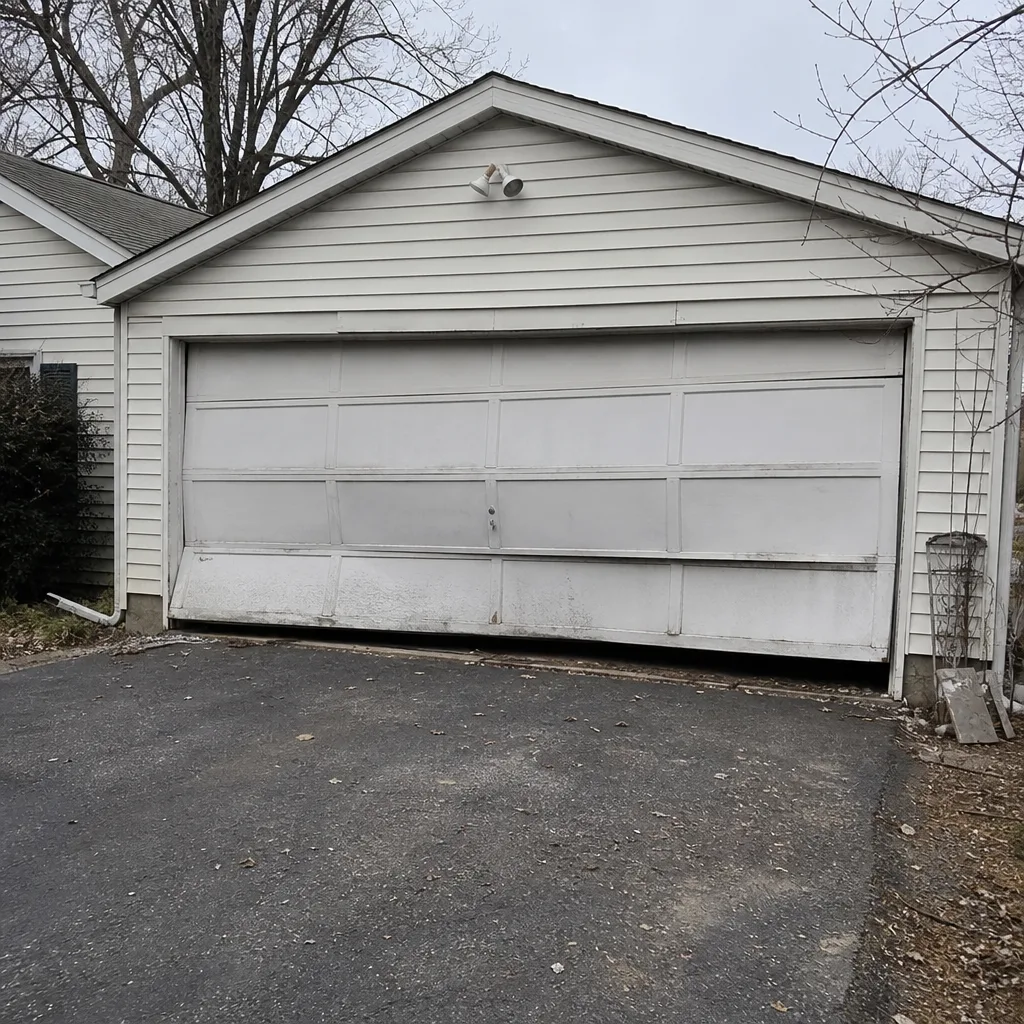 Before
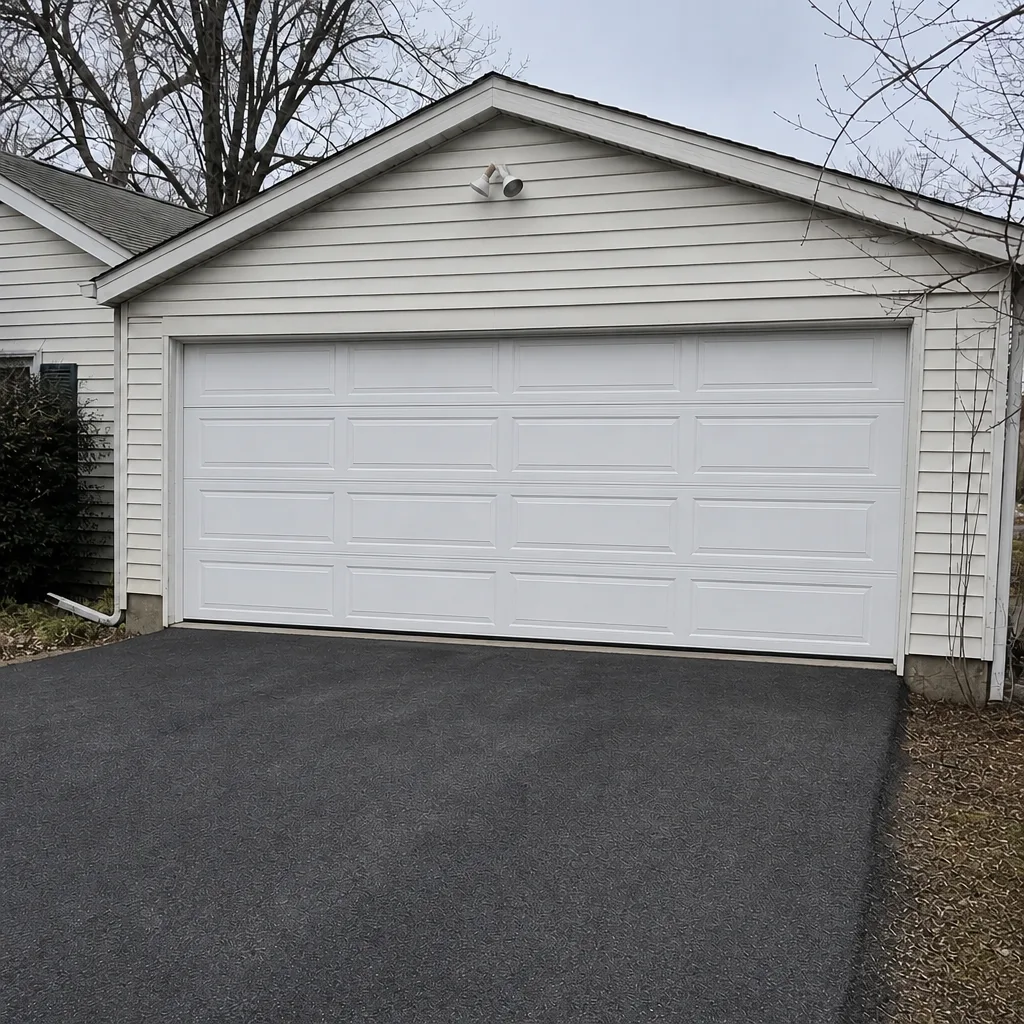 After
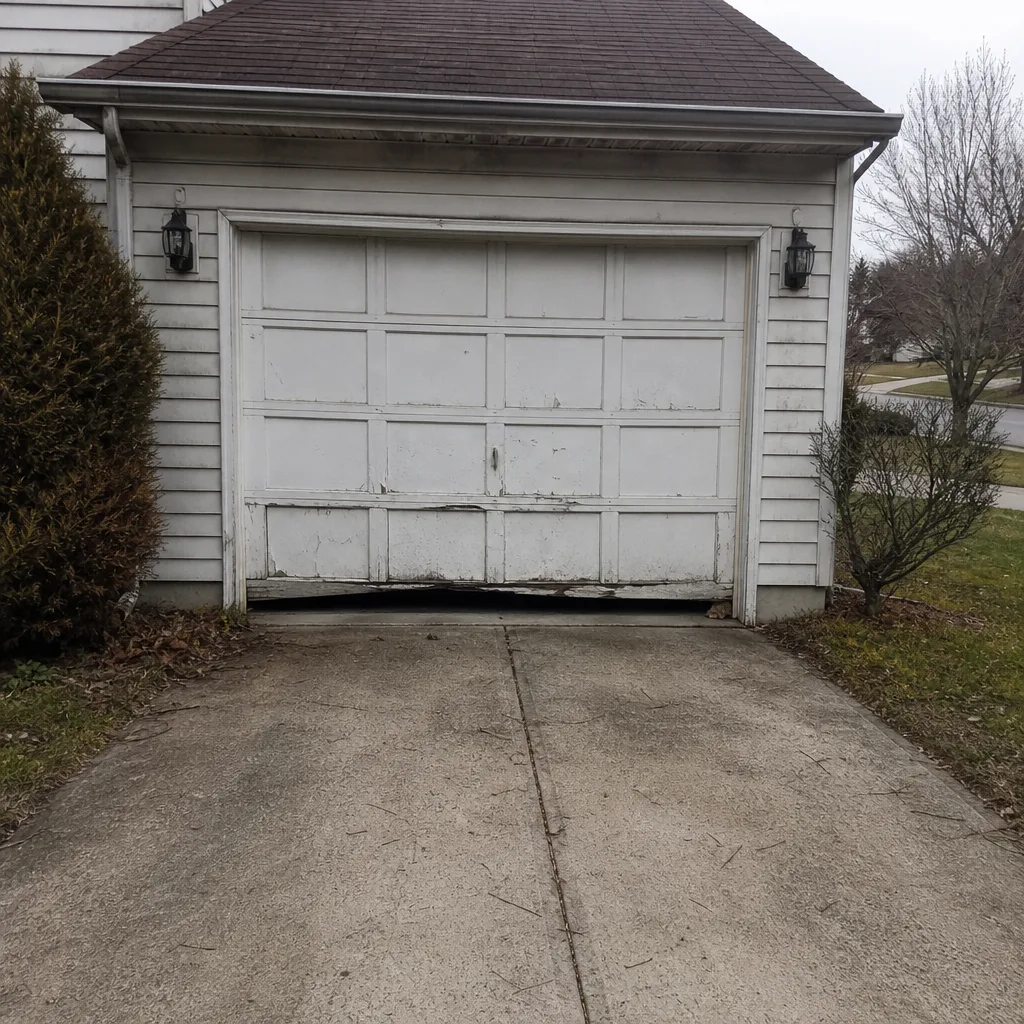 Before
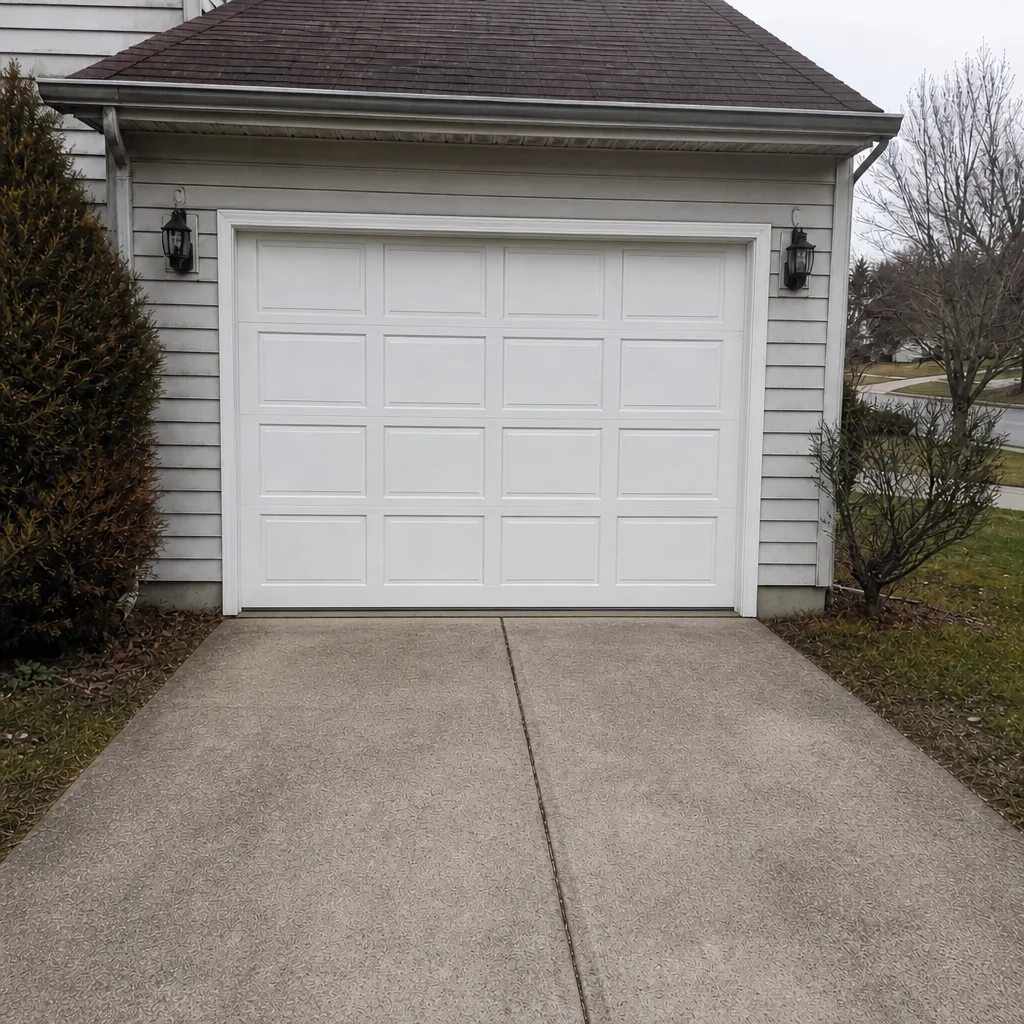 After
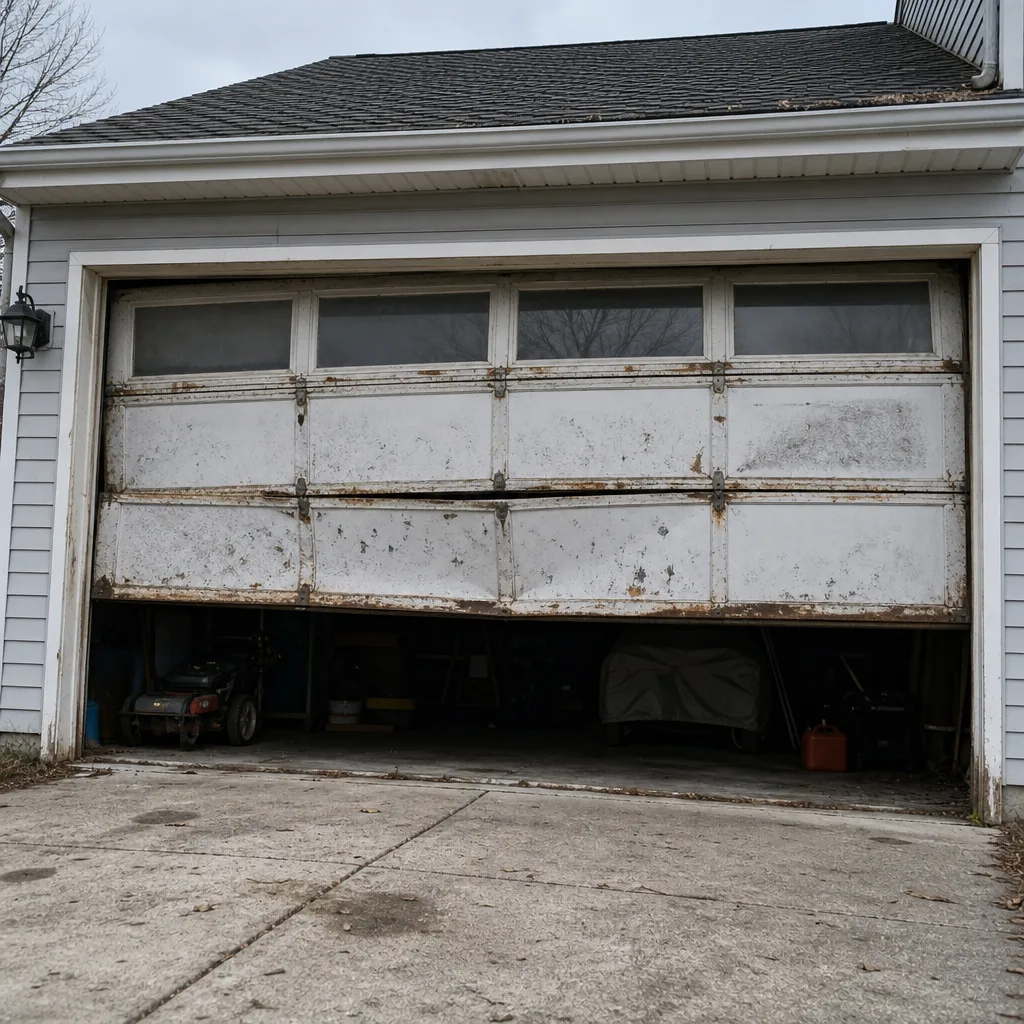 Before
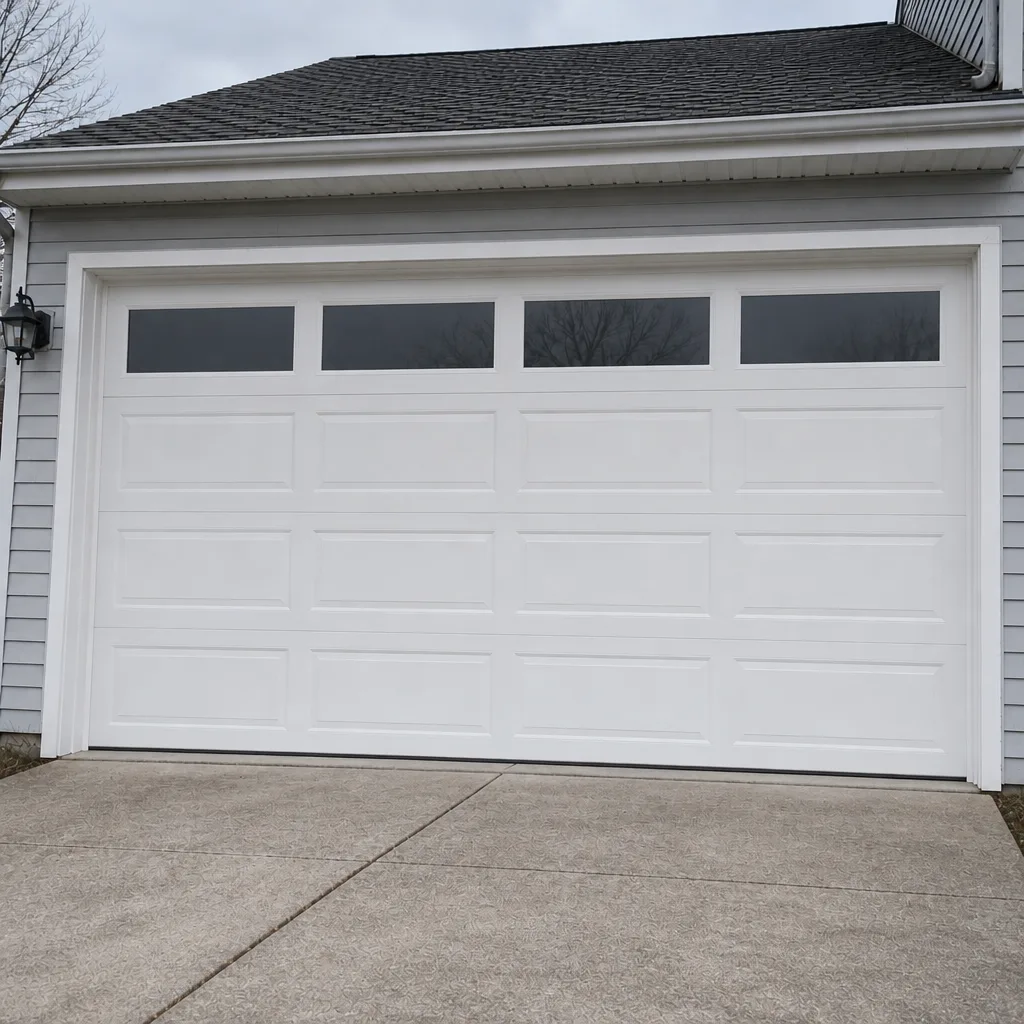 After